Friday, August 31, 2012

DIY Dipped Leg Table

Happy Friday!!! This week has flown by! I am making some serious progress on the play closet this week and here is another great project that I just completed. The below image has been pinned for ages now and I just love the look! So why not try it out in kid's space?


We had the bright green Target knock off of Ikea's Lack side table that we use for Little Man's table. It was a great buy and since the closest Ikea is 2 hours away it was a great find at less than $15. The table is pretty sturdy but it really needed an update after over a year of play dough, paints, and markers!

 The before shot... Little Man still wants to know where his green table is!

2 coats of primer...

2 coats of Cracked Pepper in semi gloss... same as used on the book shelf 

Yes - I took the lazy approach and did not paint the bottoms!

Covering the painted parts... probably would have been easier to do the 
bottoms first and then the rest of the table. Duh! 

After 2 coats of Krylon Metallic Silver spray paint. 

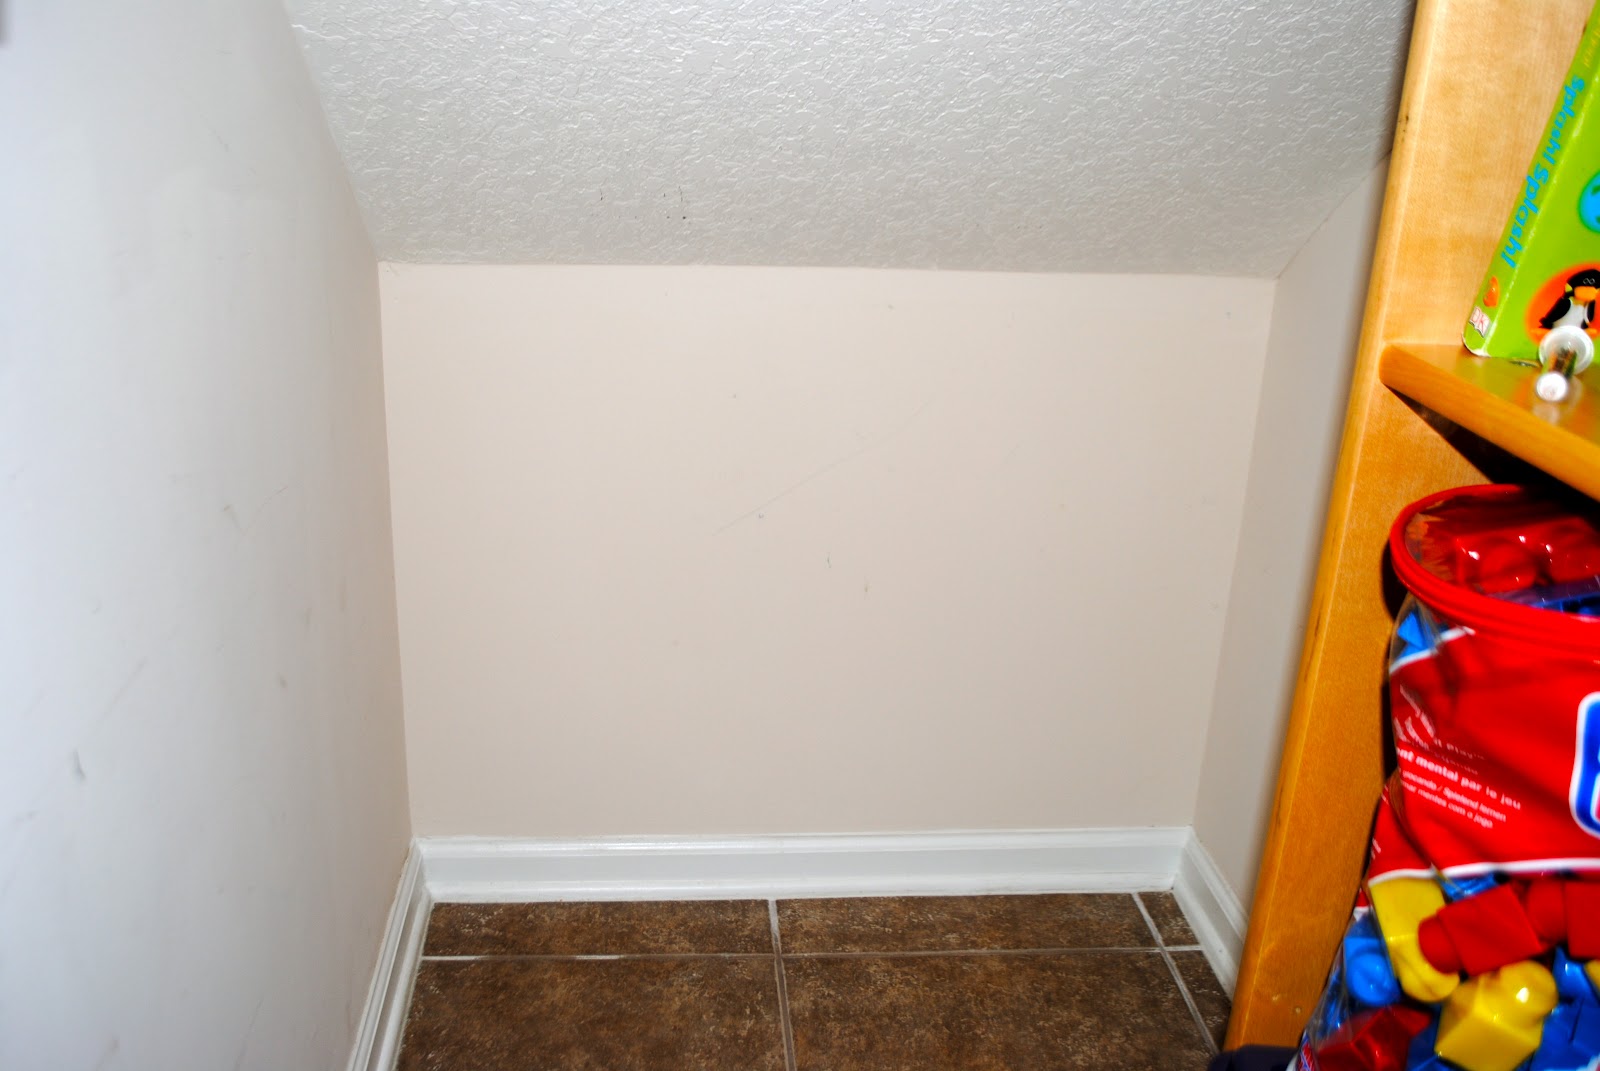
Back in the play closet 

An up close view!

I am loving the update of the table and it worked out great to use a dark colored paint in a semi-gloss. Everything wipes right off! I still need to figure out the chairs and I have a few more projects up my sleeve that are getting worked on this weekend. Can't wait to share them next week!

I am linking up today at Serenity Now!

Thursday, August 30, 2012

Shelf it!

I love having the extra storage space that the shelves provide in the play closet but I have grown tired of the maple color (hmm... sounds just like the Master Bath issue!) and since this is a fun space I thought that this would be the perfect place to try something a little different.

 My first thought was solid white and lined with some fun paper... let's see how that works.

Before and filled with toys!

Here is the 'real' before shot. I also took out the extra shelf dividers and 
it has so much more useable space this way!

After a can of Rustoleum Paint and Primer in White. 

This spray paint had great coverage! But really who buys only one can? Yeah - that would be me? So instead of waiting until I could head back up to the store, I decided to try something else (it was about 9pm at this point, kids in bed, hubby out of town, and I really wanted to have a finished product!) So onto option 2 a two toned bookshelf.

I applied painter's tape on the front surface of the shelves so that only the outside would be white. The tops and bottoms of shelves and the back would be painted in leftover Cracked Pepper that was used in the master bath. I got a full coat on and something wasn't feeling quite right. So I peeled off the painter's tape and of course I hadn't let it dry long enough! Lots of the white paint peeled off with the tape! Onto to Option #3...

It's now 10pm and I made an executive decision to paint the front of the bookcase in Cracked Pepper too. Can you tell I was ready to get in bed and have a mostly finished bookshelf? No more pictures that night! A quick coat of paint and hit the hay!

I awoke to find that the third time was in fact a charm for this book shelf!!! And here it is back in the closet. I'm really liking the color and the contrast of the white and the dark gray.

Back in the closet with some toys added back on 

Close up to show the two tones

But wait there is still more to come!!! Notice that something is missing??? It will be added back in tomorrow!

Wednesday, August 29, 2012

More Chalk Paint...

I must say that I've gone a bit overboard with the chalkboard paint! But what can you do? Little Man loves it and a happy kiddo is a very happy mommy!

As I mentioned last week, I have big plans for the Play Closet. I love the Wall Art Display and want to keep adding more touches that work for us. Being that the whole closet is painted a super boring white the first place I looked was to paint. There are still lots of ideas floating around in my head about what to do for the 3 wall but it was a no brainer for the back wall... chalkboard!

So I cleared out the toys (yes - I just moved them to the front of the closet! I was shocked at how much stuff we squeezed in there!) and got to work!

The before shot. To give some perspective, the wall is about 3 feet high. 

 All taped and ready to get started!

Almost done with coat #1 

 After 3 coats of paint
A full covering of chalk to condition it 

Midway thru the chalk conditioning

Success! Little Man loves it!

Unfortunately for you that's all there is for the after shots... for now! Lots more to come on this space!

Monday, August 27, 2012

DIY Toy Storage

As Little Fiona is growing and becoming more active, I have realized that I needed some more storage space for her toys, books, and dolls in her room. I have always loved the idea of an easily accessible toy chest or basket and knew that this would be just perfect in her room.

But looking around for something to accommodate this had me quickly realize that again my champagne taste would hard to find on a beer budget! So I scoured the house... Nothing to report unless I would be stealing a basket from another location where it was actually needed. So I ventured into dangerous territory, the garage. And as luck would have it, I found just what I had been looking for.

Open storage, compact, and not currently in use! But this would need some work before it came back into the house (much less into my little girls room!)

What they look like new!


Here she is in all her glory before... with a little bit of sanding!

And after a coat of spray on primer.

S&L Hydrangea paint

After two coats of S&L Hydrangea paint.

Unfortunately, the paint was a sample and it was a stretch to coat the outside after using it in several other places in Fia's room. This left me with a pretty storage box on the outside and an old, scratched inside with no lid. So what now?


Looking at my half finished project it hit me. A liner would be the perfect fix! So I jumped online and found lots of options but at  + $12 for nearly every one (plus at least a few days ship time) I knew that wasn't going to work for me. So I checked around the house... I had resigned myself to sewing one if I could find some extra white fabric. As I was checking our linen closet, something small and white fell from one of the shelves. Duh! Why would I sew something when I had just what I needed ready and waiting to be used. A pillow case!!!

Armed with a clean, regular sized white jersey pillow case I set off with fingers crossed. And what do you know? A perfect fit! I turned it inside out and folded the pillow case over the top of the storage cube right where the seam is.

I stuffed a pillow filler into the bottom of the cube (before adding the pillow case)
 so the toys were up higher and more visible!

All finished and ready to be filled!

I love how this turned out and how easy it is to clean up her toys now too! Check it out all filled up and in her room!


I know that its impossible to tell from this shot - but the little lady is a mess today thanks to her teeth... note the drool and teething toy... but she loves her new toy storage!


Friday, August 24, 2012

A Quiet Friday

I have lots on the agenda today! It's just me and Fia as Jed is having his first sleep over with his Gramma and cousin! He is so excited!

On the agenda...

More work on the Play Closet
Trying out my new sewing machine (Thanks Mom!)
A cork project
Washing our sofa slipcovers and making sure the new ones fit

Since I am so in love with my Pantry Pegboard I am linking up at Serenity Now today too!

Wednesday, August 22, 2012

The Piece de Resistance!

As I have shown this week, we made lots of changes to our pantry. I organized, took down shelves, and added a spice rack here. And then chalkboard panels on the door here. I love these updates but the real winner for me is today's addition. This is another vision that I have had floating around in  my head for months now but they always take me a bit to build up the courage to complete them. And then I kick myself that I waited so long!

We are very lucky to have a nice sized kitchen but with so many gadgets, utensils, and cooking tools it's often hard to find what you are looking for easily. Check out our utensil stand and cooking drawer. Impossible to easily find anything...


And so with my newly cleared wall in the pantry I knew just what we needed! A pegboard in the pantry!!! It sounds a little far fetched but wait until you see the end result!

2 foot by 4 foot piece of pegboard 

the empty wall in the pantry... 

a nifty little box of pegboard accessories (including mounting spacers) $11 at Home Depot

2 quick coats of chalkboard paint... since I already had it out! Makes labeling super easy though! 

Chalkboard conditioning... 

A quick wipe down (while hubby recounted his love of erasing chalkboards in grade school) 

To mount, you use the spacers and basically screw it into the wall. We used 12 spacers. The package only came with 4 so make sure to buy extras. Also, it is helpful to glue the spacers to the back of the pegboard and then screw them in if you are working in a tight space or using a large pegboard. Otherwise, you are trying to contort your hand behind the board to place the spacers!

Hanging and ready to load it up! 

Are you ready to be jealous??? I must say that I love this new addition. It is by far my FAVORITE aspect of the pantry redo! I now have an empty drawer, some cleared up counter space, and more room in my kitchen cabinets in addition to being able to easily see all of my kitchen tools! LOVE!


We moved this nifty little gadget to the other wall. It holds your plastic grocery bags for easy storage and access. We have one in the pantry downstairs and one upstairs in the laundry room. A definite must have!


PS. I linked this project at Serenity Now and Our Fifth House Organize It Linky Party