
So with 3 pieces of foam board, some batting, duct tape, staple gun, and 2 extra Ikea white drapery panels I got to work.
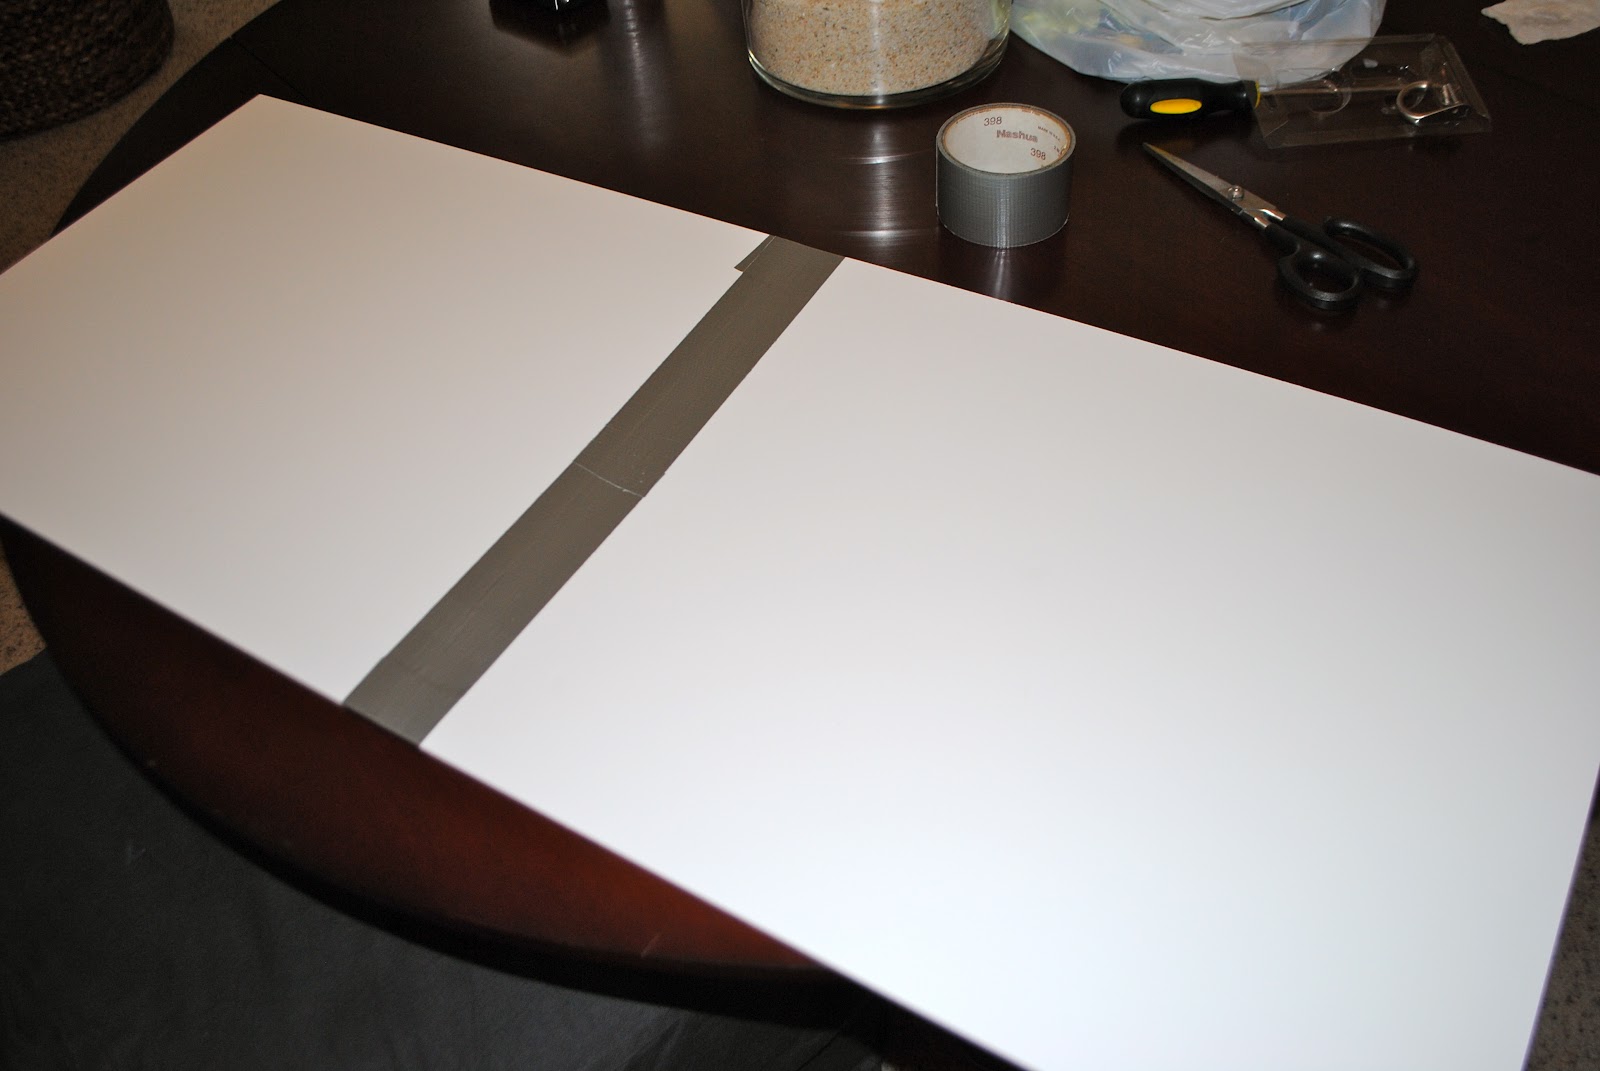
I made my pelmet 40 inches long and 16 inches tall with a 4 inch side piece. This was mainly done because my foam boards were 20x16 so this allowed me to tape 2 together and not have to do any more cutting!
Here we go:
1. Cut your foam board as desired. A ruler and a box cutter do work best. Don't forget to also cut a support piece if you are taping together 2 foam boards. This really helps for support.


2. Tape together the base of your pelmet box. Go crazy with the duct tape! The more the merrier :)

3. Cover the pelmet base with a layer of batting and staple it in. Two things about this step: only some of the 1/4 inch staples seemed to hold so I used stapling and taping as a combo. Also, if you are doing white pelmets, consider doing 2 layers of batting. From certain angles you could see the tape thru mine.

4. Now repeat step 3 using the fabric. Again I used a combo of stapling and taping!

5. Attach the mounting hardware to the pelmet base. I opted for hot gluing corner braces to the pelmet on each of the sides and in the middle so that it would actually not attach to the wall but rather rest on the curtain rod. (sidenote - about 8 hours in I learned that hot glue wasn't a smart way to mount the braces as Fia was awoke from her sleep at 9pm by a falling pelmet! Lesson learned... use epoxy!)

6. Mount the curtain rod to the wall. I used a cheap Target one that was less than $3 and since its hidden no worries!

7. Add the curtains to the rod. I wanted mine to stay mostly open so I used to wooden clothes pins to keep them from sliding more to the center.


8. Mount the pelmet box. For me this was simply placing the box on top on the curtain rod.
And we are done! Well, most people would be done.... but something seemed to be missing!
More details coming tomorrow!


No comments:
Post a Comment