Showing posts with label Home Improvement. Show all posts

Thursday, April 25, 2013

Updating a Clock with Chalk

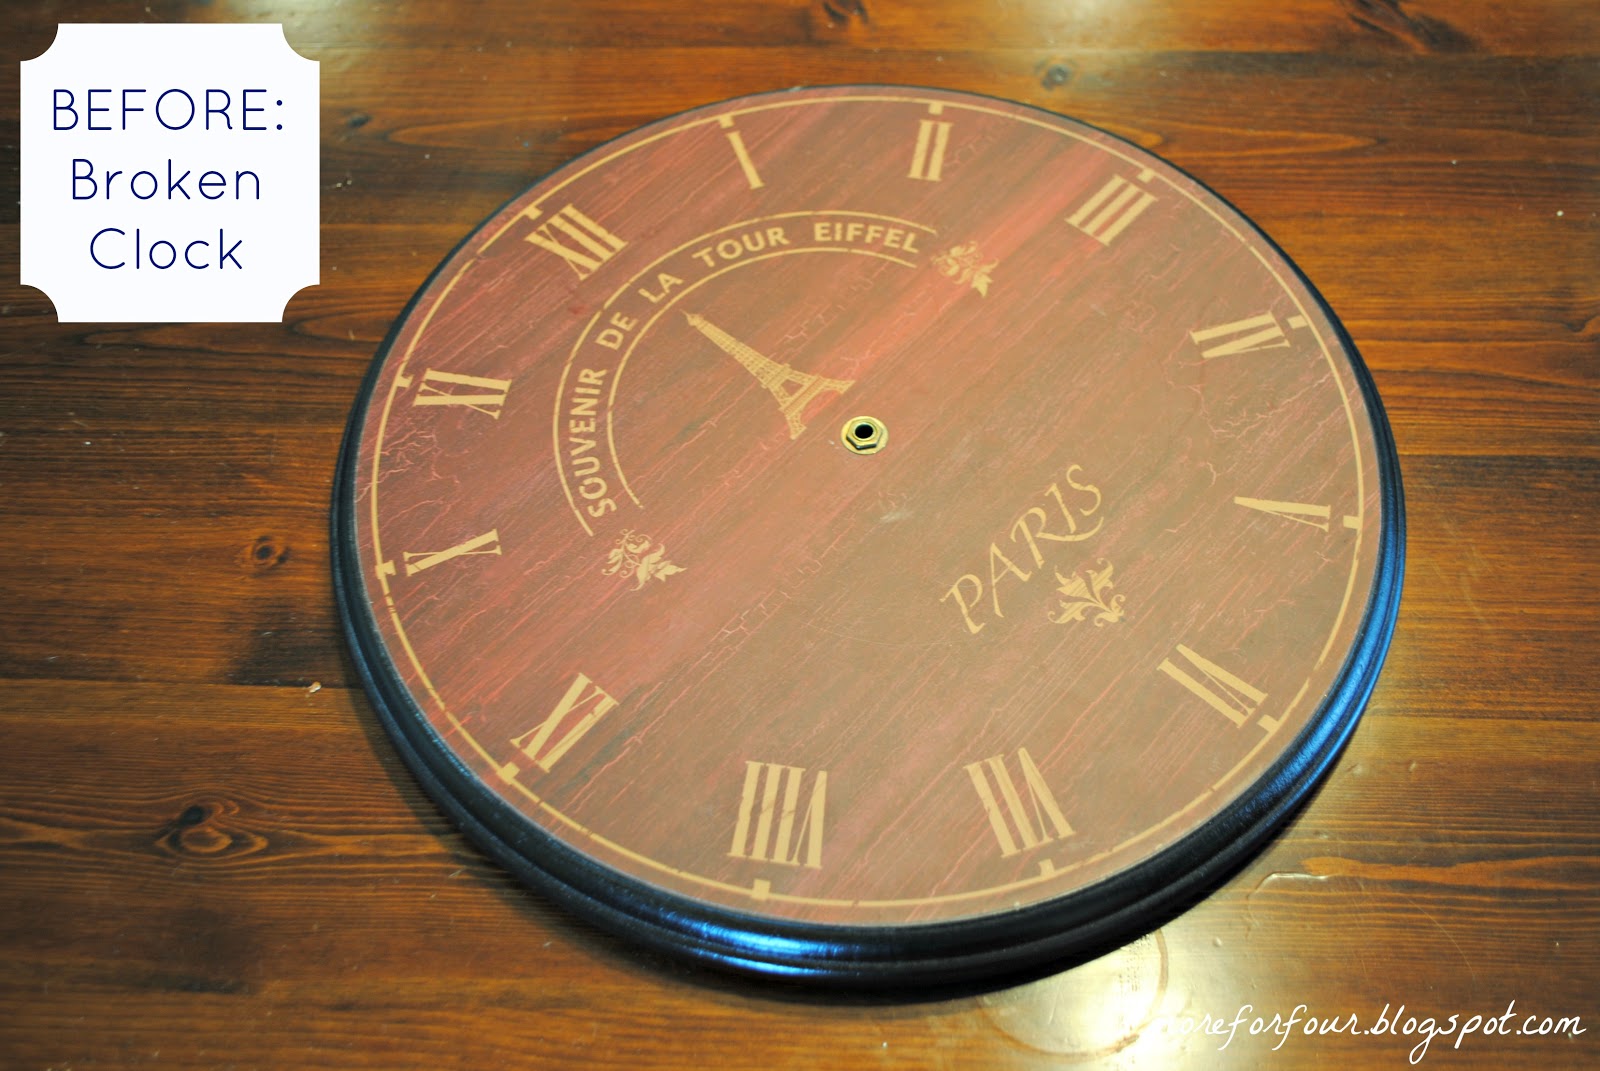
We totally got lucky when we moved that the only damage we had was to minor items (aside from my beloved striped lamp shades!) Another damage that made we sad was this adorable clock that my aunt gave us way back. It has always been a kitchen clock and I loved seeing it every day as we left the house. The clock itself was in great shape but the movers broke the hands. And a clock without hands just isn't a clock! I could not bring myself to give this away and I am SOOOO glad that I didn't!


I actually thought about looking online for a clock kit when it hit me how easy and cute it would be to make this a chalkboard clock and just draw on the numbers and hands! Adorable right? Three quick coats of chalkboard spray paint, a chalk conditioning, and wipe away the dust...


And if you happen to love this but don't have a broken clock, I have seen wooden circles at craft stores for just a few bucks! For now this little clock is perched on the coral dresser but Little Man has been non stop chattering about his chalk clock so I imagine it will soon be moving to the playroom or his room! It is a great way for kids to learn numbers and time telling!

Linking up at Inspiration Gallery Happy Hour Link Party and Serenity Now.

Wednesday, January 30, 2013

Lighting Love

I have been of the hunt for a light fixture to upgrade from our boring basic builder's chandeliers. I have been very slow to pull the trigger because I am trying to take it slow and make sure I am getting something I really love (not to mention at a great price too!)

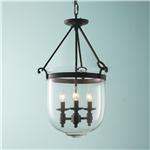
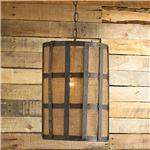
I am loving the look of the organic, vintage, farmhouse lanterns. And I adore these beautiful lights from Shades of Light! If only I had $500 to drop on one light fixture :(


And no post on dream lighting would ever be complete without me including my ultimate dream light fixture... Circa Lighting's Thomas O'Brien Hicks Pendant. A moment of silence please to enjoy this beautiful work of art!


Okay, back to reality! I got an email that World Market was having 30% off lighting plus an extra 15% for Explorer members. So, I packed up the kids and we headed out to check out some lights! Thankfully, my kiddos LOVE to shop and can easily be bribed with food! I had my eye peeled for a couple of the fixtures that caught my interest online and I was floored to see that the online pictures do nothing for the lights!

It was love at first sight for me... and the Honeycomb Chandelier!


I nabbed the very last one that the store had and it was actually the display! The chandelier is huge... like 2 feet across and 16 inches tall. It will make quite a statement piece and I adore that it's just so different. Oh yeah, and it was just shy of $100!

But I must say that I fell in like with one that isn't quite right for my style but would look awesome in many different settings. Check out this uber chic pendant! The shape was unique and the inside of the shade was a beautiful gold leaf. Yeah - go grab the Black Iron Bell Pendant today if you are looking for a clean mod look at a great price! It was %89 plus the 45% off!


So now the big question is.... where to put it? As we pulled into the house, Little Man excitedly asked if he could skip his nap and help me decide where our new 'light' should go! I love that little dude! I love the light so much that I really want it to go in the breakfast nook so I can see it daily but I know it would be perfect in the dining room as well.....

Shower Rings to Drapery Hooks

As I mentioned yesterday, I needed the extra couple of inches that drapery hooks provide for my DIY pom pom panels. I set out to Target over the weekend to grab some basic 1.5 inch ones and was floored to see that those size hooks were nearly $10 and I needed to get 2 sets! I knew that I could find something cheaper online but I was itching to get these panels up and didn't want to wait for the hooks to show up in a few days.

What's a girl to do? I kept thinking as I walked the aisles of Target and as I made my way up the Bath aisle, the perfect solution appeared!

At $1.99 for a pack of 12 the price was perfect too!

Once I got home, I dug thru my spray paint stash... I decided on the Rustoleum Hammered spray paint that happened to be a very close match to the drapery hardware.


2 light coats of spray paint

Looking slightly hammered 

Then I let the rings dry for about an hour. Once dry I closed the rings and got to work with my needle and thread and a tape measure. I used 6 rings per panel so I needed to measure out where they should go. Once I had the panels marked, I sewed each of the rings to the panels with a couple of hand stitches. It was really that easy!

Up close view of sewn on rings

Love the look and that my panels now touch the floor! 

Friday, January 11, 2013

Friday Stain Fail

I should have known that doing a real time DIY project is just asking for trouble... but I was just so excited about it! Let's back track... Thanks to my Dad I have these awesome new table tops, and thanks to this great DIY stain post I got an update on my tetanus booster.

Here are all of the details!

I dumped one tablespoon of coffee grounds (I used ones that had never been brewed) into a mason jar filled with distilled white vinegar and 2 steel wool pads. I let the concoction sit a little more than 24 hours.

I used a plastic bag to protect my hands from the stain and applied a liberal coat to both of the tabletops.  I let the stain sit and went back to check on it after the hour was up. This is what I found! Beautiful distressed looking wood (excuse the coffee grinds)


So if one coat and an hour is good, then a second coat should be great right? I applied a second coat with bare hands (duh!!!) and as I was waiting for it soak in I looked down at my hands and notices several paper cut sized scratches. Cue major freak out followed by dragging the kids all over town to get a Tetanus booster shot. Needless to say walking in to find that my beautiful distressed tables were now looking like redwood tables was the icing on the cake! They are not photographing nearly as red as they are in real life, but take a look.


In an effort to get rid of some of the redness, I did a vinegar wash and it did help some.


Next up, a vinegar and steel wool only stain. And yes, I will be wearing gloves! So if you are thinking of trying this, my advice would be to use much less coffee and maybe even already brewed coffee. Oh and again, protect your hands!

Linking up at Serenity Now!

Thursday, January 10, 2013

Pop's Coffee Tables

Way back in November of 2012 (when I was staying with the rents while the hubs was already working on the new job and the house had sold...) I stumbled upon a project. When I moved into my first apartment many, many years ago, I got one of those horrific matching living room and dining room sets from Rooms to Go. I am mortified to even admit that now... most of the pieces have been long sold on Craig's List. All that remains are a coffee table and 2 end tables that have been hiding in an extra room in my parents house for maybe 7 years! I had totally forgotten about them until we were packing up some of our stuff one evening and it occurred to me that with this new big house we could really use some extra tables. Truth be told, these were slated to be put in the family room since the beautiful PB one that we have does not fit with the sectional (yes - we bought an insanely expensive sectional without measuring the opening where the table would sit. DUH!)

This is what the tables looked like...


I decided that we didn't have enough on our plates with the move and that building new table tops was just what we needed to spend our 'spare' time doing! So my dad and I sketched out two tables. A smaller end table (18 inch square) and larger coffee table (27 inch square). I wanted to reuse the legs from the existing tables and add rustic looking wood tops. Since I had just read Hi Sugarplum's Reclaimed Shelves and Desk post, we didn't have to think too hard about how to make this happen!

We came home from the 'Man Store' with the needed supplies already to cut to size and got to work! It was a super fast project thanks to my dad and our awesome assistant! We basically used 3 of the 9 inch wide pieces for the bigger table and 2 of the 9 inch wide pieces for the end table. We used the same process for both tables so I am going to outline it for the bigger coffee table only.

1. Lay the 3 boards on your work space
2. Place your 3 support pieces going the opposite direction on the 3 boards
3. Attach your support pieces using wood screws
4. Lay your trim pieces on all 4 sides of the table to ensure they fit
5. Attach your trim pieces using wood glue and let it dry
6. We opted to also use finishing nails to attach the trim to the tabletop
7. Attach the leg hardware to the bottom of the table


 And this is how the tables sat for about 2 months as I lived out of a box decided how I wanted to stain them! When I stumbled upon this amazing idea to use Steel Wool, Vinegar, & Coffee Stain! Tune in tomorrow for the full scoop on this awesome stain!

Tuesday, January 8, 2013

The 2013 List

Yes, I am a touch slow on the resolutions and to do list for 2013, but I figure as long as I get it out there and make it happen that's what really matters right? So here is my to do list for 2013! I am pretty sure there will be lots of little spur of the moment additions too!

Gallery Shelving (DIY and figure out where it should go!)
Leaning Mirror
Fix sectional Slipcover
Refinish Kitchen table
Laundry Room Plan
Guest room bed and Nightstand
Dining Room (Lamps, Table, Bar, Shelves)
Rug for Family Room?
Stain DIY Coffee Tables
Office Plan
Master Rework
Update Cleaning Calendar

And I am starting right in! Tune in tomorrow to figure out what in the world this will be helping me to cross off!


Sunday, January 6, 2013

Happy Blogiversary!

Well, I missed my true blog birthday! But I am still very excited to have made it a whole year! In the last year, so much has changed... I thought it would be fun to look back and see the most popular posts that I have had in the last year.

Of course Pinterest provided the #1 post with the Paint Dipped Lampshade! If I ever were to complete project using paint sticks again, I would buy them in bulk vs driving to store after store to gather 10 at a time!


Funny that the #2 post would happen to be precisely what I posted about yesterday. It's looks like yall liked my Pegboard Pantry too! Make sure to check out the one in the new house here.


And rounding out the top 3 are the Striped Lampshades. A super easy way to jazz up a cheapie lamp and to really make your room pop!


I am very sad to report that both the paint dipped lampshades and the striped lampshades did not fare well in the move. As I removed each of them from their boxes, I was sad to see about half of the paint sticks removed from the shade and that the striped shades had literally been squashed. So it's back to the drawing board for my green lamps who are now naked!

New baby, new city, new house, and with that comes a whole new list of to dos for the upcoming year! Tune in tomorrow for that post!

Friday, January 4, 2013

Pegboard in the Pantry

We are still in the midst of the holiday madness here! Is it already Friday? With New Years, a visit from friends on the 1st, and a quickie trip to New Orleans for the Sugar Bowl (thanks to the grandparents for letting us have a kid free trip!) it's been a busy week indeed! Thus the New Years resolutions start around here next week...

But one of the first things I checked off my to do list just might prove to be very helpful for those of you trying to get organized. It was honestly one of the favorite DIY projects to date and I was very happy to be able replicate it in our new house. In fact I loved it so much that this was up and functioning day 2 in the house before I even got my closet unpacked. Yeah, that is love! So here is the Pegboard Pantry version 2! Apologies for poor picture quality, the camera charger is still missing so all of these are via my new iPhone!


Unfortunately, I did not chronicle the step by step process this time (with being surrounded by 496 boxes and such) but luckily I captured it all in my original peg pantry post. The only difference was that this time the hubs decided to use wood instead of the peg spacers to mount the pegboard to the wall. Its a little easier than trying to hold the spacers and screw them in while working in a tight space like a pantry.


Just think of all the time and drawer space you will save with this easy and inexpensive project!

Linking up at Serenity Now!

Tuesday, December 18, 2012

We are alive and almost moved in!

It's been a crazy month or so around our household! We sold our house (buyers put a contract on it sight unseen!), found a new house, hubs started his new job, moved out of our house solo, moved in with my parents for a few weeks, and finally last Friday closed on our new house!

I am in love with the area and our new home (minus these pesky few boxes that remain!) 

Unfortunately, we are still lacking in the Internet department..... So until then I will remain MIA!

Thursday, September 27, 2012

An Oldie... But a Goodie. Kitchen Part 1

Seeing as we are moving in the not so near future, it seemed fitting to look back at our first 'real' home project. Sure... We had painted, hung curtains, and done other small things to improve our home but this was a biggie! Best of all is my wonderful timing, this project would finish on the Friday before my son's blowout first birthday party with nearly 50 of our closest family and friends. Yeah... Not at all stressful!

I loved our house the first time we walked in (and it was actually the very first house that we looked at!) I loved the floor plan, the fenced nature view lot, the neutral color palette... The only thing that was a real deal breaker for me was the laminate counters not only in all of the bathrooms but also in the kitchen! I hated them! But I obviously knew that this was an easily remedied issue, so we got our dream house and planned to pick our perfect countertops when everything settled down. Two months after moving in, I was pregnant and then came baby, and before we knew it nearly 2 years had passed. We started discussing the kitchen renovation in January 2011 as we filed our taxes and were trying to decide where our tax money should go.

We ended up going with a smaller granite shop that gave us such a great price that we decided to go ahead and just do our 3 bathrooms as well! Then came the real fun.... Basically 4 projects rolled into one! I needed to make 4 sink, faucet, granite color, backsplash, and lighting choices at the same time! So I set off to make this all happen in our 30 day window.
The key for me was staying organized with all of the moving parts, including a general contractor, plumber, and more.

Using a pretty basic excel spreadsheet, I was able to not only stay organized but also stay on budget. We had a number for a budget that I really wanted to stay with and keeping it in excel allowed me to play with the numbers to make it happen. I started off with the costs that we knew for the granite, labor, etc. from there I worked my way down starting with the kitchen and filled in all the blanks knowing that sending more in one room meant that I would need to be more frugal in other places.

So on to the fun stuff.... I will start with the kitchen for today's post.

Our kitchen opens directly to our family room and breakfast nook. The kitchen island was two tiered and was nice to help separate the rooms but the bar on the island was less than ten inches deep which made it virtually unusable for eating or anything else for that matter! While visiting friends in Philly who fell in love with their one huge level island separating their kitchen and family room. There was so much usable space and the space seemed so open! We knew that it was now or never so we decided to just go for it! Our GC gave us a very reasonable estimate for the work and we were sold! The fun part of this was that our GC would need to chop down the second level of the island prior to the granite shop making templates. So had a few days of a somewhat non working kitchen. Pardon the dust, mess, and horrible counter tips!


The easiest choice of all for me was the backsplash. I had stumbled across a blog with the most beautiful kitchen tansformation and I knew right away that this was the tile for me... Off white subway style, with a crackle finish, and beveled edge. It was love at first sight and luckily a local tile store carried the brand so I was able get a sample of the available colors. I then soured the Internet and found a great price with super fast shipping on Fast Floors. Mark that off my list!

Chatting at the Sky - Backsplash Inspiration
Fast Floors Adex USA Hampton Bisque in the smaller mesh backed size

After many years of fighting with and hating my stainless steel sinks, I knew there had to be a better alternative. In an perfect kitchen world, a farmhouse sink would be where I would spend my evenings doing dishes. But I resigned myself to holding out for that sink in our dream house that we will one day build as I realized that switching to this style of sink would require reworking cabinets and a lot more money than I wanted to shell out! I stumbled upon the Blanco Silgranit sinks in several renovation blogs. They had amazing reviews and I thought that they could be a perfect fit. Another thing I learned was that when a sink is in an open island, going with a single basin sink helps to keep the view nice and clear even when there are a sink full of dirty dishes. The only catch? I need to see and feel something like a sink prior to choosing it. We lucked out that our local Ferguson Showroom had several samples of this composite sink and many more sink and faucet options!

Talk about heaven! An entire showroom full of sinks, faucets, lighting, mirrors, appliances.... The hubby and I made a full tour and to my surprise hubs loved the Silgranite Super Single Sink. But while I was in this amazing showroom I needed to make sure this was THE sink. A Kohler cast iron sink caught my eye on the way in and I needed to know more about it. Unfortunately, this beautiful sink in the color I wanted (Caviar) was a special order that would take 6-8 weeks and was also nearly $700! Yikes! This made up my mind and I again turned to the internet for 2 day shipping and another great deal on the Blanco Silgranite Anthracite (black) sink from Home Click. They were a great company to work with and even helped me locate my sink after hours when I was nervously stressing about getting it in time for our granite templates to be made. We ended up under $400 for the sink and the shipping charges!

Blanco Super Single in Brown (Anthracite seems to be out of stock)

(Side Note - I will admit that I was a little OCD with the sink and actually made a pit stop on the way to a friends wedding to buy one of these sinks for fear that the one we ordered online might in some way be damaged and would mess up our very tight timeline.)

While we were in Ferguson's I managed to drab the hubby into the faucet section too! We almost immediately agreed on a style that we loved but again the price nearly got us at well over $600! What??? So again I resigned to internet searching and found it substantially cheaper (plus we ordered all of our other faucets from them at an even bigger discount!)

Faucet Direct - Grohe Minta Stainless Faucet

And finally - it was all decided!!!! What a huge weight off my shoulders until it came to D-Day and I was like a kid on Christmas morning so excited to see it all together and praying that it would exceed my expectations... and it did!!!!


And what the kitchen looks like today? Stayed tuned tomorrow!

Monday, September 24, 2012

Picture This... Tip 5

Happy Monday! I hope that everyone is got to spend some time with their families and friends this weekend. We had a nice weekend... yet we are still waiting on the kids to be 100%. It's wreaking havoc on my sleep!

I had every intention of finishing this little segment up over the weekend but the above mentioned lack of sleep deterred that from happening! This tip is a great one yet it's pretty hard for me to fully put into practice. I am sure that you will have the same problem.

When potential buyers walk into your home you want future buyers to be able to picture themselves in the house... to see their kids playing in the backyard, their furniture filling the house, and many happy meals being prepared in the kitchen and enjoyed around their table! This can be harder for potential buyers to do with your families smiling faces on every surface. I am by no means saying to get rid of EVERY picture in your home but taking some down can really help.

One place where this really worked for me was in the play room (aka the loft). The right top shelf housed about 8 different frames with family pictures. Below that to the right of the stereo is a 12 frame collage frame. So that's about 20 pictures in 2 feet of almost eye level space. Kind of a lot!


I went full force on this space and took them all down (it was also looking a bit cluttered!) I think that it helps make the space look cleaner and I hope that buyers will look at the wonderful play space instead of my explosion of family photos!


PS - One of the hot things to do when your home is on the market is to do a virtual tour online or have very elaborate shots of every room. After all online media is often the first time people will view your home. My mom had a great suggestion that especially for these pictures, make sure that the pictures are down or at least not visible in the final product. Think about it! Here is an online posting of your address and then you are attaching pictures of your family??? Another great suggestion was to skip the pictures in your kids rooms. Again we don't need everyone on the world wide web knowing the sex, ages, and often times your kiddos names! It's sad that we have to think like this but its always better to be safe than sorry!

Friday, September 21, 2012

Fix it with Furniture... Tip 4

Happy Friday! I am so excited for this week to be over and the weekend to begin! We have two birthday parties on Saturday which should equal a little extra am sleep on Sunday from Little Man.... fingers crossed!

I will admit that I LOVE furniture. I think it's a problem. I comb the stores looking for new pieces and when I gt home I think of how I can re-arrange the pieces I have to better suit the space and to allow for more to come home with me next time!

Once upon a time, a mommy got very tired of constantly seeing her kids toys spread across the house. This was before the idea of a play closet had even entered her brain....and she set out to find a way to keep the kids in her view while she was cooking in the kitchen and such without staring at Elmo, Mickey Mouse, and the like all day long. Enter a modern looking dark wood buffet with 2 shelves, 1 drawer, and 3 shelves hidden behind a door. Being that our family room is very deep, the sectional got moved forward, the buffet was placed on the back wall perfectly centered between the windows, and the kids got a long galley style play area that was not visible unless you walked to the back side of the couch!

View when you walk into the room...

and if you walk behind the sectional!

And with the white slipcovers on...

from another angle!

This plan worked great for us for quite some time! But once the play closet got up and running the buffet wasn't being used and it did take up ALOT of precious room! We moved the buffet, changed out the curtains (smart to do before the sectional move), and then pushed the sectional back to about 6 inches away from the wall. What a difference!!! The room looks huge again! We also moved the dark wood side table to the other side of the sectional and brought in a dark wood chest to use on the chaise side. I also brought down the 2 floor lamps that we used to have in the Master and placed those on each side of the sectional for some more accent lighting. Oh yes - and I took the bottom shelf off of the coffee table (and spray painted it a Hammered Bronze to cover up the mess I made a few nights ago!) What do you think?
Looking cleaner and so much bigger!!!

This left us with an extra piece of furniture to do something with.... and I knew right where it should go! The guest bedroom! The guest bedroom has a full size bed, the West Elm Parsons desk, and a tall file cabinet from Ballard (in addition to a variety of side tables that float in and out as nightstands). The room always ended up feeling really tight even with just those limited pieces.

when you walk in to the room... 

 The view from the bed...

First things first, the file cabinet got moved to the closet. It fits perfectly under the adjustable wooden shelves we made and is still easily accessible! Note - the reams of fabric hiding in the closet too!


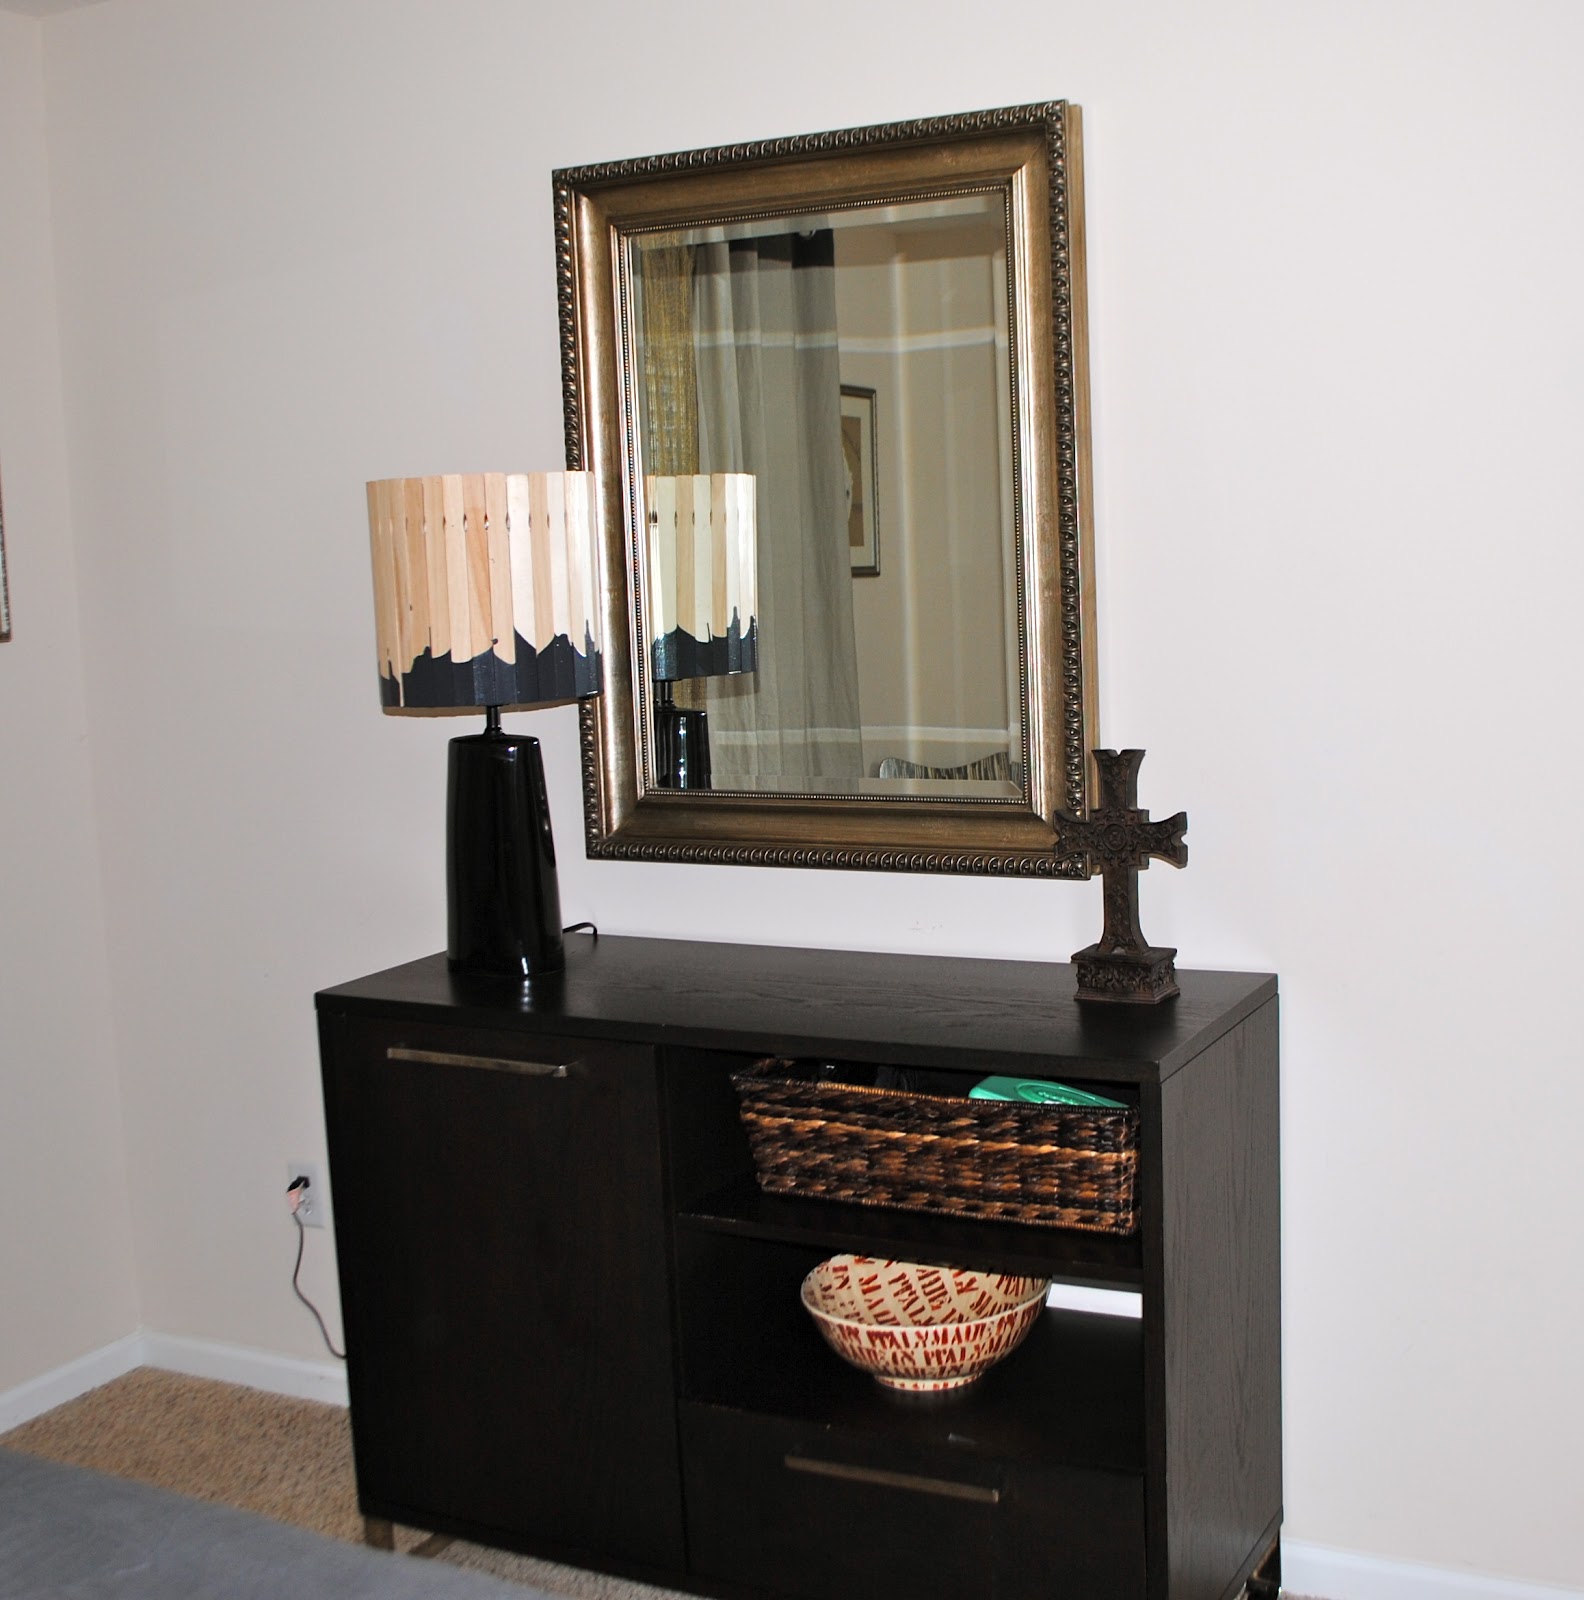
I adore the Parsons Desk but it is really too big for this space. It is also a very easy piece to store by just unscrewing the legs, it could be pushed under a bed. I said my goodbyes to the desk and moved the buffet into it's place. Such a better fit size wise! It also gives us a great location to quickly 'hide' stuff when a last minute showing is going to happen and the house is a disaster!

view from the door

and from the bed... looking so much bigger!

PS - I hope these pictures have captured that placement really is everything! One last tip that has been a life saver for my back and my marriage... Moving Men sliders. These things allow you to move anything with almost no work! I have even used them on my solid wood armoire that I left totally full!


I am linking up today at Serenity Now!