Showing posts with label Spray Paint. Show all posts

Thursday, May 2, 2013

Jute Trimmed Lampshades

I finally found the perfect finishing touch to my lovely cobalt blue lamps with the painted shades. I argued with keeping the coral trim and even tried another color trim... but in the end the neutral won out!

It was a super easy DIY (my favorite kind!) that I literally completed in 5 minutes. I just had to pull off the existing coral trim and hot glue on the new jute ribbon. And voila ~ Totally new lampshade! An added bonus was that the coral trim was able to be reused for another project that will be seen very soon for the playroom.


I am beyond thrilled at how they turned out! And as you might be able to guess... they are no longer living in my Master Bedroom.  I found a much better home for them that is 2 quick projects away from a full reveal! Any guesses what room they ended up in?

Thursday, April 25, 2013

Updating a Clock with Chalk

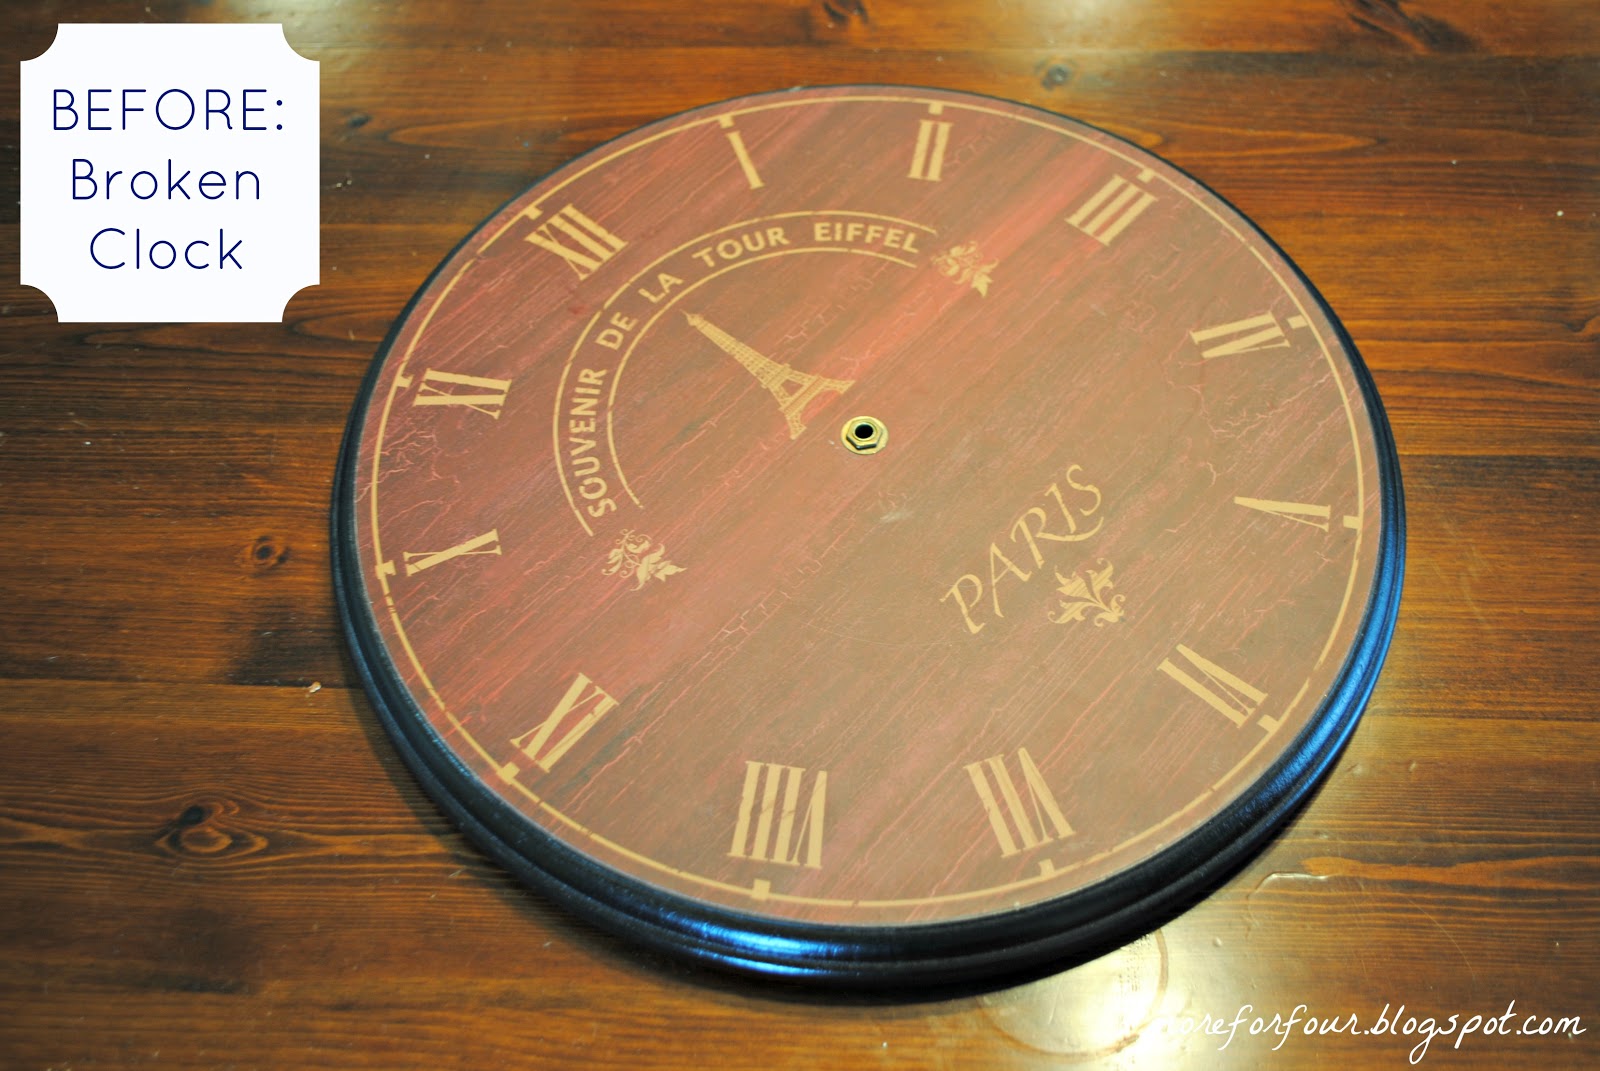
We totally got lucky when we moved that the only damage we had was to minor items (aside from my beloved striped lamp shades!) Another damage that made we sad was this adorable clock that my aunt gave us way back. It has always been a kitchen clock and I loved seeing it every day as we left the house. The clock itself was in great shape but the movers broke the hands. And a clock without hands just isn't a clock! I could not bring myself to give this away and I am SOOOO glad that I didn't!


I actually thought about looking online for a clock kit when it hit me how easy and cute it would be to make this a chalkboard clock and just draw on the numbers and hands! Adorable right? Three quick coats of chalkboard spray paint, a chalk conditioning, and wipe away the dust...


And if you happen to love this but don't have a broken clock, I have seen wooden circles at craft stores for just a few bucks! For now this little clock is perched on the coral dresser but Little Man has been non stop chattering about his chalk clock so I imagine it will soon be moving to the playroom or his room! It is a great way for kids to learn numbers and time telling!

Linking up at Inspiration Gallery Happy Hour Link Party and Serenity Now.

Wednesday, January 30, 2013

Shower Rings to Drapery Hooks

As I mentioned yesterday, I needed the extra couple of inches that drapery hooks provide for my DIY pom pom panels. I set out to Target over the weekend to grab some basic 1.5 inch ones and was floored to see that those size hooks were nearly $10 and I needed to get 2 sets! I knew that I could find something cheaper online but I was itching to get these panels up and didn't want to wait for the hooks to show up in a few days.

What's a girl to do? I kept thinking as I walked the aisles of Target and as I made my way up the Bath aisle, the perfect solution appeared!

At $1.99 for a pack of 12 the price was perfect too!

Once I got home, I dug thru my spray paint stash... I decided on the Rustoleum Hammered spray paint that happened to be a very close match to the drapery hardware.


2 light coats of spray paint

Looking slightly hammered 

Then I let the rings dry for about an hour. Once dry I closed the rings and got to work with my needle and thread and a tape measure. I used 6 rings per panel so I needed to measure out where they should go. Once I had the panels marked, I sewed each of the rings to the panels with a couple of hand stitches. It was really that easy!

Up close view of sewn on rings

Love the look and that my panels now touch the floor! 

Sunday, January 20, 2013

Glass Table is Now Golden

I am so happy that the Dog Days of Winter challenges are happening to keep me on my toes and motivated. I have so much old to me stuff, that picking which one to work on for the Thrift-It Linky Party was more time consuming than the actual project I chose to work on!

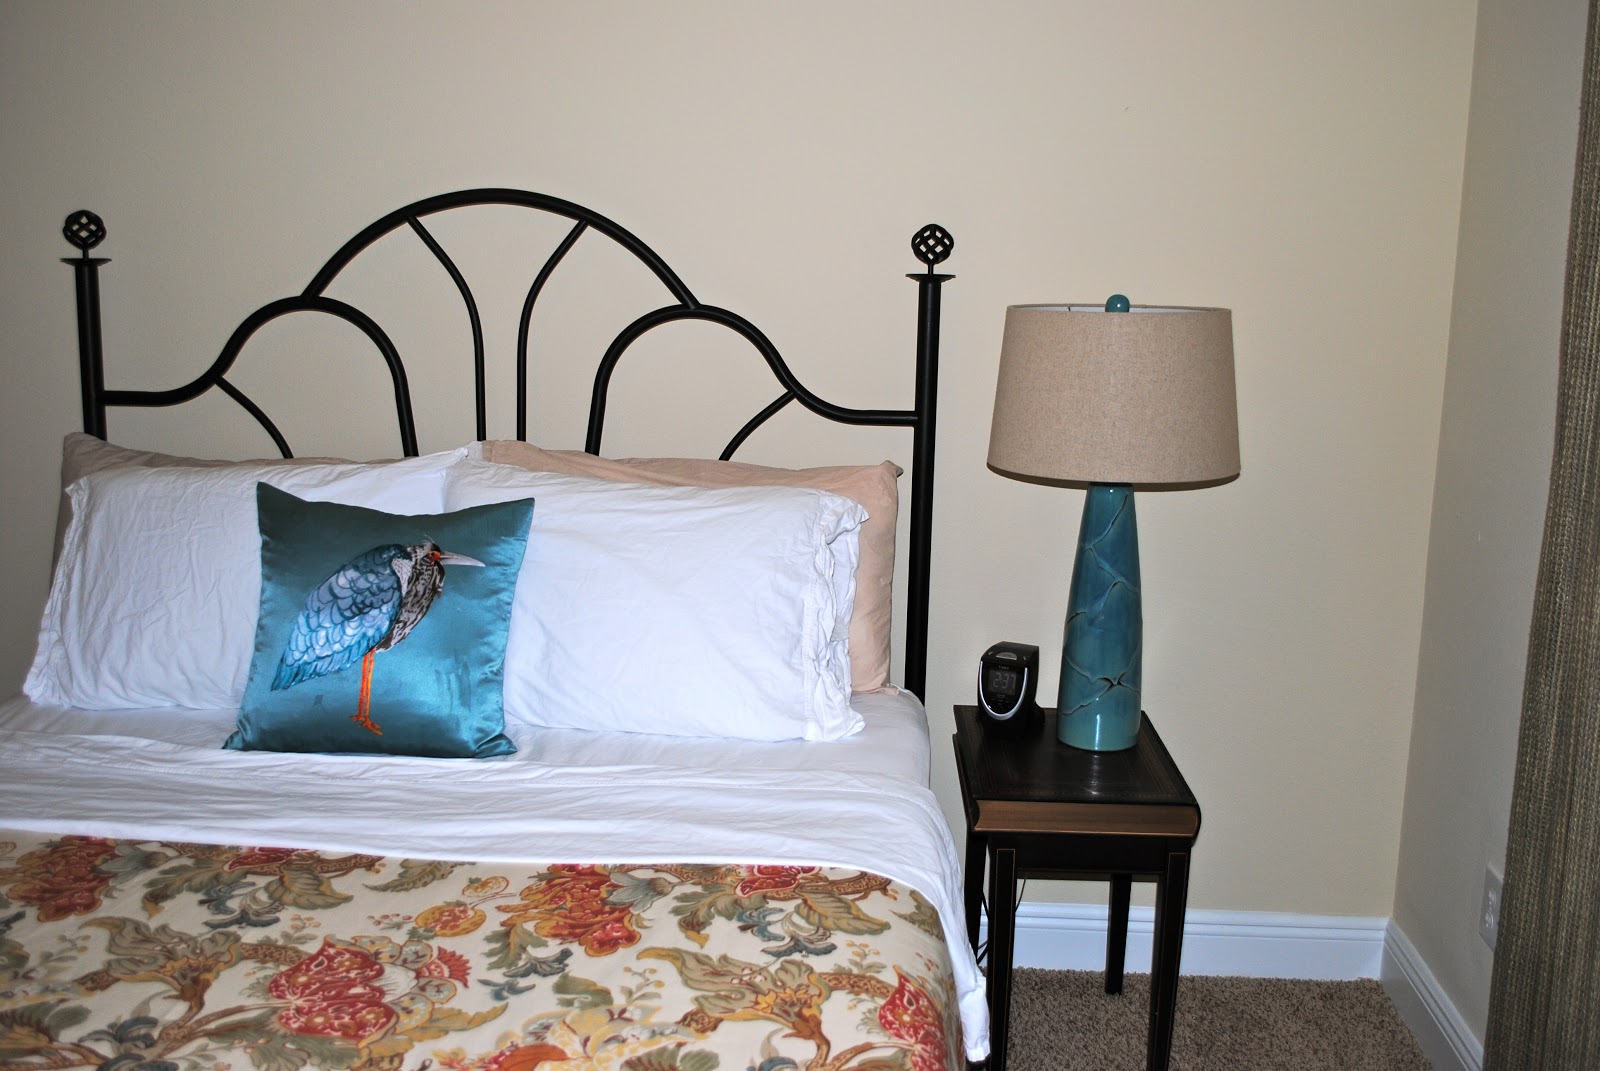
We have this metal and glass table from the in-laws which actually matches the bed in one of our guest rooms. I thought that it had great lines but wasn't thrilled about the matchy matchy look combined with the black metal bed. I have been dying to do something to the bed itself but decided that it was better to start small and this little side table got volunteered to be the guinea pig!

The before shot...

The before shot with the twisty cylinder thing removed from the base..

A quick 2 coats of this awesome spray paint...

After the first coat, looking promising!

The second (and upside down) coat looking even better!

The table's new home (next to the matching bed!)

Almost home and looking totally different!

WOW!!! What a difference a coat of spray paint makes on this metal and glass table!


The full room shot with the table LOVING its new home!

And of course, the DIY Entertainment Center lives here too! 
What a great accent with the golden brass pulls.

So now that the table is golden, it has me wondering what in the world to do with the bed? I originally wanted to do it gold but with the table I think it would be too much. Surprisingly, the hubs is not a fan of the gold so that is two strikes against it...

What do you think? I am 100% changing out the twisty things to something a bit more vintage looking, maybe even something gold. But should I leave it black? White? A rubbed bronze? A muted turquoise? What do you think?

Source: Design Kastle

Source: Brunch @ Saks

Source: http://absolutelybeautifulthings.blogspot.com