Thursday, January 24, 2013

Playroom Inspiration

I suddenly had a flash of genius a few weeks ago.... and it led me down an interesting path of inspiration for the playroom. Our story starts off with 2 beautifully coordinated fabrics in a lovely shade of yellowy gold. They were selected specifically to be used in a play space. Unfortunately, some other fabrics (Dwell Gate Bella Porte you know who you are!) pushed these plans aside and the Dwell Vintage Blossom made its way to our master bedroom.


I loved the brightness of it against the white bedding but I am itching for something new and it is begging to be reunited with its long lost friend the Schumacher Celerie Kemble fabric (as seen on the DIY bench/ottoman).

The obvious solution? A playroom in lively shades of citrine, browns, and reds! Check out the inspiration behind the room and stay tuned as I DIY it into existence!

Wednesday, January 23, 2013

Kid's Chalk Play Table

I am thisclose to having the mood board for the kid's playroom finished and I am so excited to get started on it that I just had to do a playroom project!

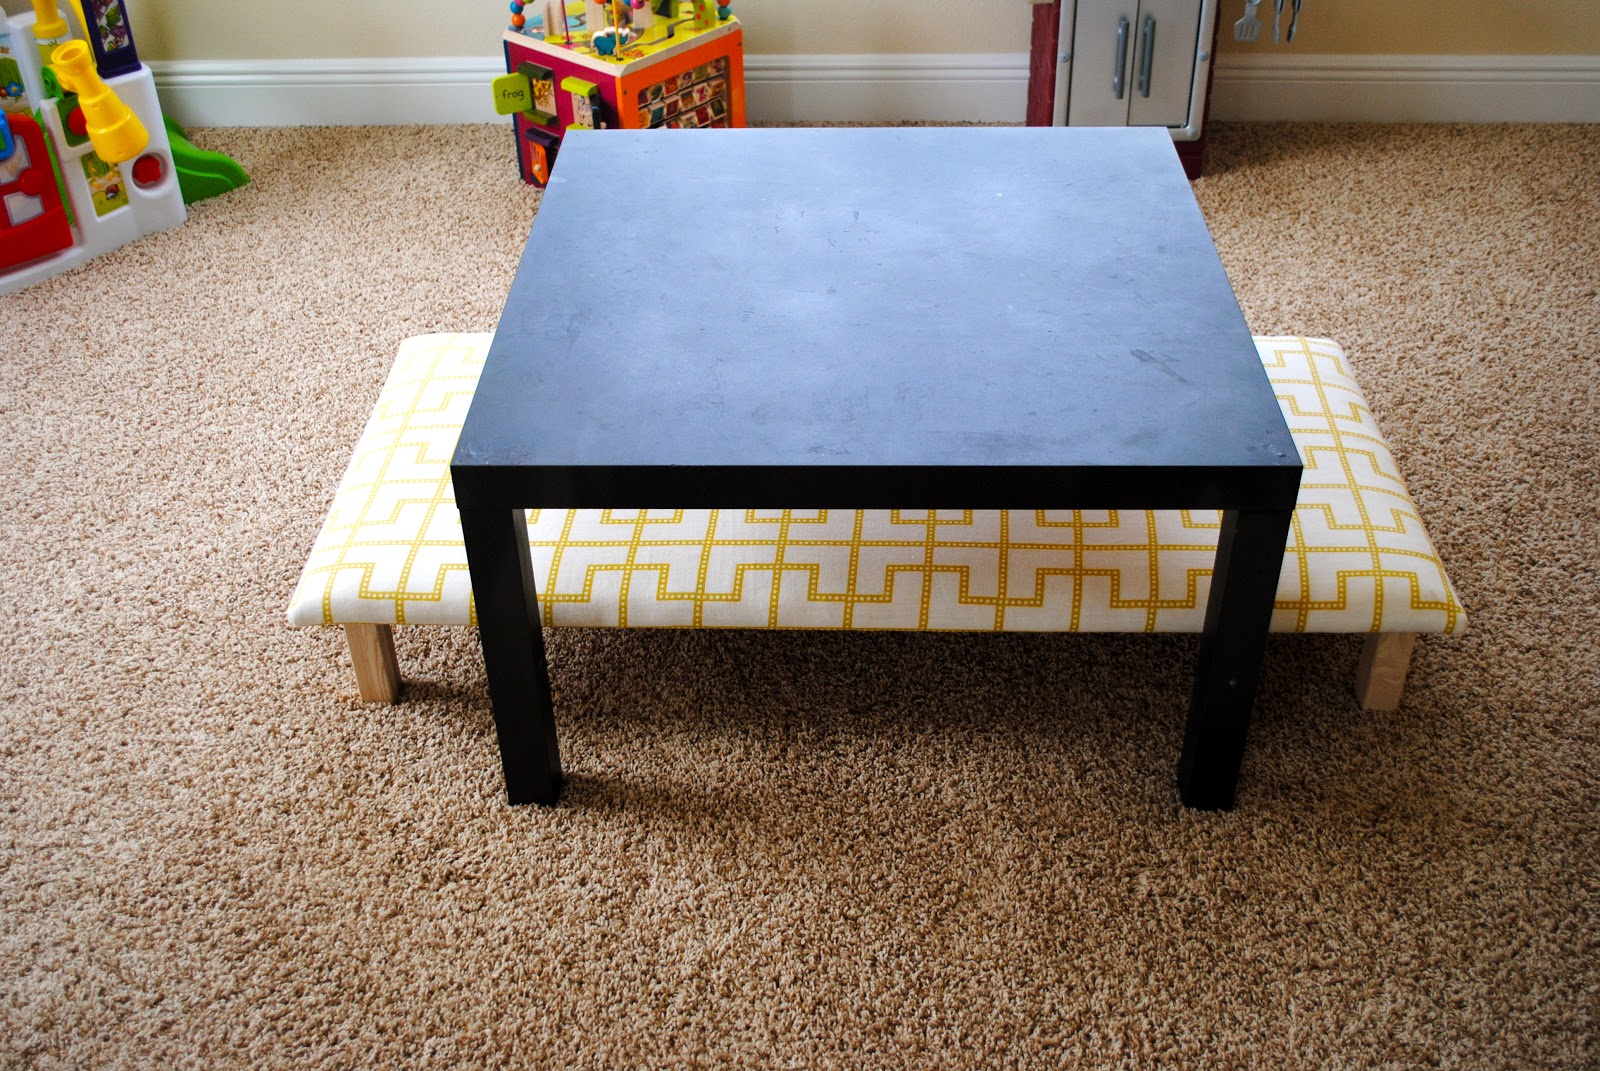
Since we have a dedicated play room in the new house, lots of stuff has been able to be included in the room. Like the old coffee table and this cute bench that I made a while ago.

Here it is in the playroom and it has worked out great for a play table and 
I don't have to worry about kiddie chairs tipping over.

Unfortunately, the table needs some work. The top is scratched and covered in peeling paint. 
It s shard to see in this pic, but trust me it's there!

So I took the table out to the garage and gave it a quick sanding.

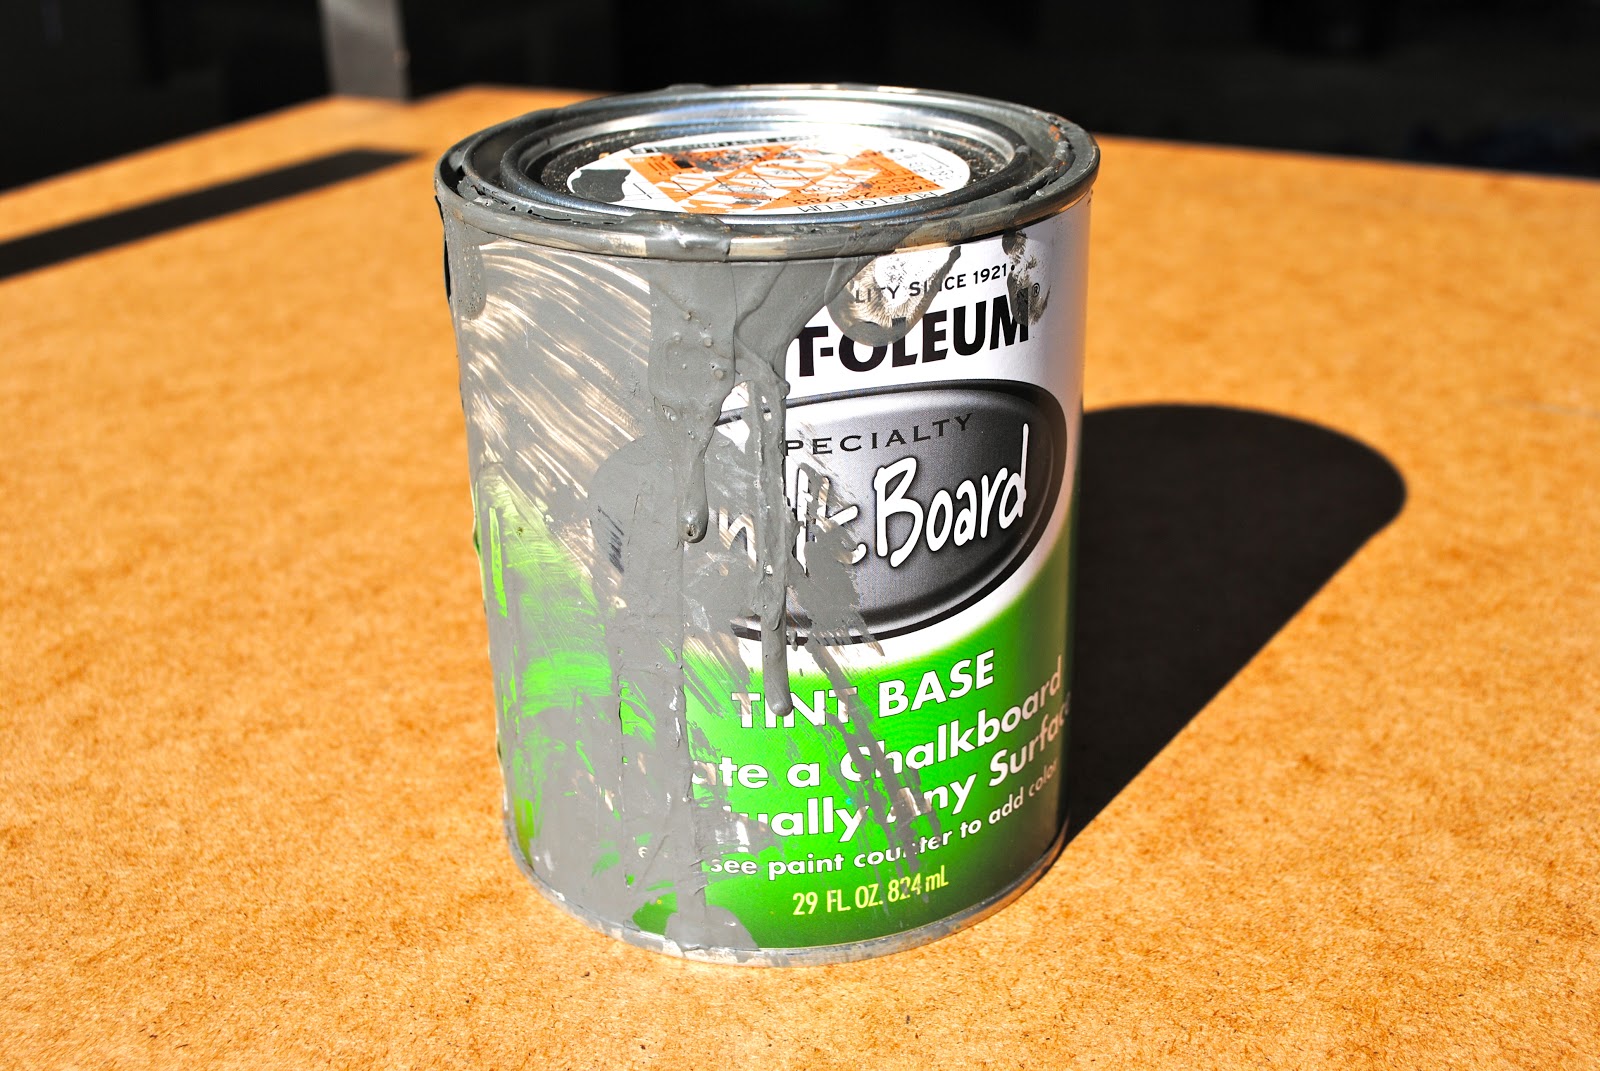
Think I use this stuff alot?

Then 2 coats of my chalk paint

Another clue you chalk paint too much... your almost 3 year old knows how to help condition it!

All covered and conditioned!

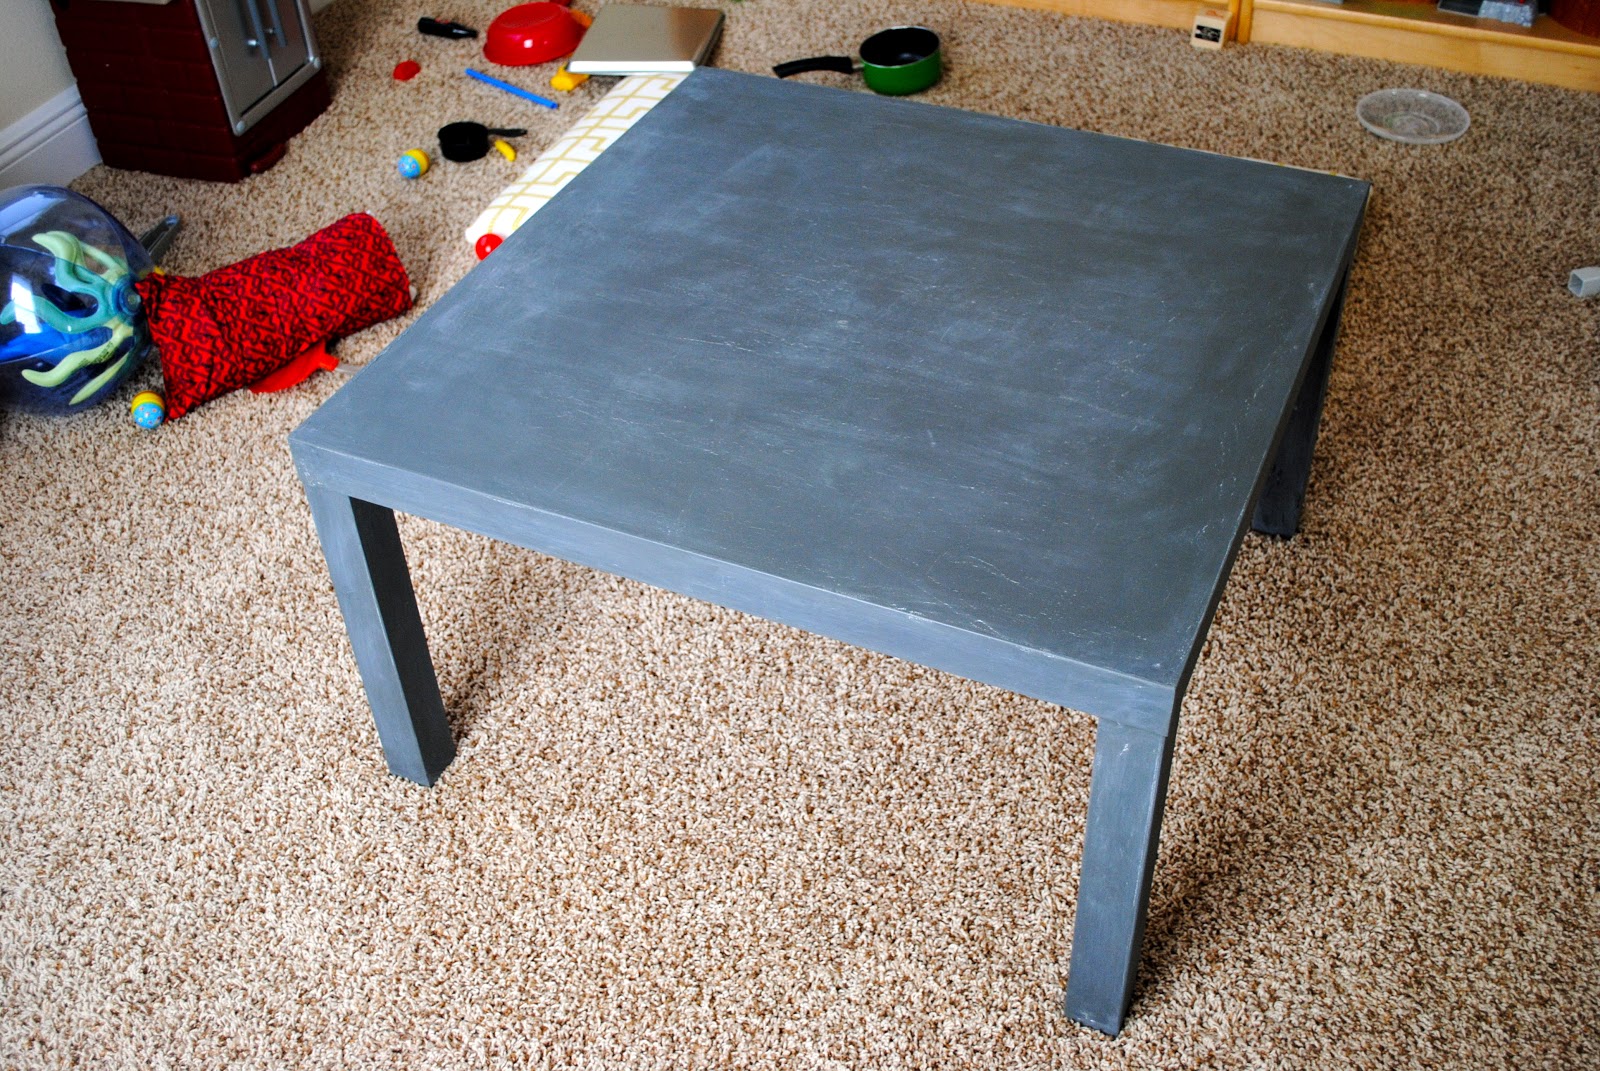
The final product...

Little Man's favorite part? Drawing train tracks on the table for his train!

PS - The bench has now been retired. Let's just say that Fia's climbing skills have improved and after finding her sitting on this table I realized that it needs to go! Luckily, I have a great plan in the works!

Monday, January 21, 2013

Cinnamon Rolls from Scratch!

In episode 2 of Mange` Mondays, we decided to tackle a family favorite.... Cinnamon Rolls! We typically use the refrigerated cans that you just pop into the oven, bake, and then ice. But the extra 10 minutes to make these are so worth it once you try them! Plus, Little Man loved getting in on the action and got to really help!

I happened to find this amazing yeast free recipe on Iowa Girl Eats and thought that it was a worth a shot. As usual, I made some changes but here is the Original Recipe.


Cinnamon Filling:
3/4 cup packed brown sugar
1/2 cup granulated sugar
1 Tablespoon cinnamon
1/2 teaspoon salt
2 Tablespoons Earth Balance non dairy butter, melted


For the Dough:
2-1/2 cups all purpose flour, plus more for rolling out dough
1/4 cup granulated sugar
1-1/2 teaspoons baking powder
1/2 teaspoon baking soda
1/2 teaspoon salt
1 cup lowfat buttermilk
4 Tablespoons Earth Balance non dairy butter melted

For the Icing:
3 ounces cream cheese softened
4 tablespoons lowfat buttermilk
1 cup powdered sugar


1. Preheat oven to 425. Combine filling ingredients in a small bowl, then mix with a fork until well blended.

2. In a another, larger bowl, combine flour, sugar, baking powder, baking soda and salt. Whisk together buttermilk and melted butter in a separate bowl, then pour into the middle of the dry ingredients. Stir together until dough just comes together (do not overmix.) Kneed slightly with your hands until the dough forms into a ball, then slice it in half.

3. On a lightly floured surface, roll each half into a 12×8″ rectangle (think slightly longer than a sheet of paper.) Press half the filling mixture into the center, leaving 1/4″ of the dough clear on all 4 sides, then roll like a sausage. Pinch together seam, trim ends and cut into 8 slices. Repeat with the other dough half, then place rolls in a non-stick sprayed 11×8″ pan. Bake for 15 minutes.
4. Meanwhile, to make the icing, mash together softened cream cheese and powdered sugar with a fork until smooth. Whisk in buttermilk, 1 Tablespoon at a time, until creamy. Drizzle onto hot cinnamon rolls and spread evenly.


Little Man stirring the filling

Making the dough 

Dough rolled out and filling added. Now rolling it up!

Cutting it into slices

The four rolls that I put in the pan...

I will let you guess who placed the rest of the rolls...

Iced and they all taste amazing.... even the odd shaped ones!

Pure heaven!!!!

Linking up at Serenity Now!

Sunday, January 20, 2013

Glass Table is Now Golden

I am so happy that the Dog Days of Winter challenges are happening to keep me on my toes and motivated. I have so much old to me stuff, that picking which one to work on for the Thrift-It Linky Party was more time consuming than the actual project I chose to work on!

We have this metal and glass table from the in-laws which actually matches the bed in one of our guest rooms. I thought that it had great lines but wasn't thrilled about the matchy matchy look combined with the black metal bed. I have been dying to do something to the bed itself but decided that it was better to start small and this little side table got volunteered to be the guinea pig!

The before shot...

The before shot with the twisty cylinder thing removed from the base..

A quick 2 coats of this awesome spray paint...

After the first coat, looking promising!

The second (and upside down) coat looking even better!

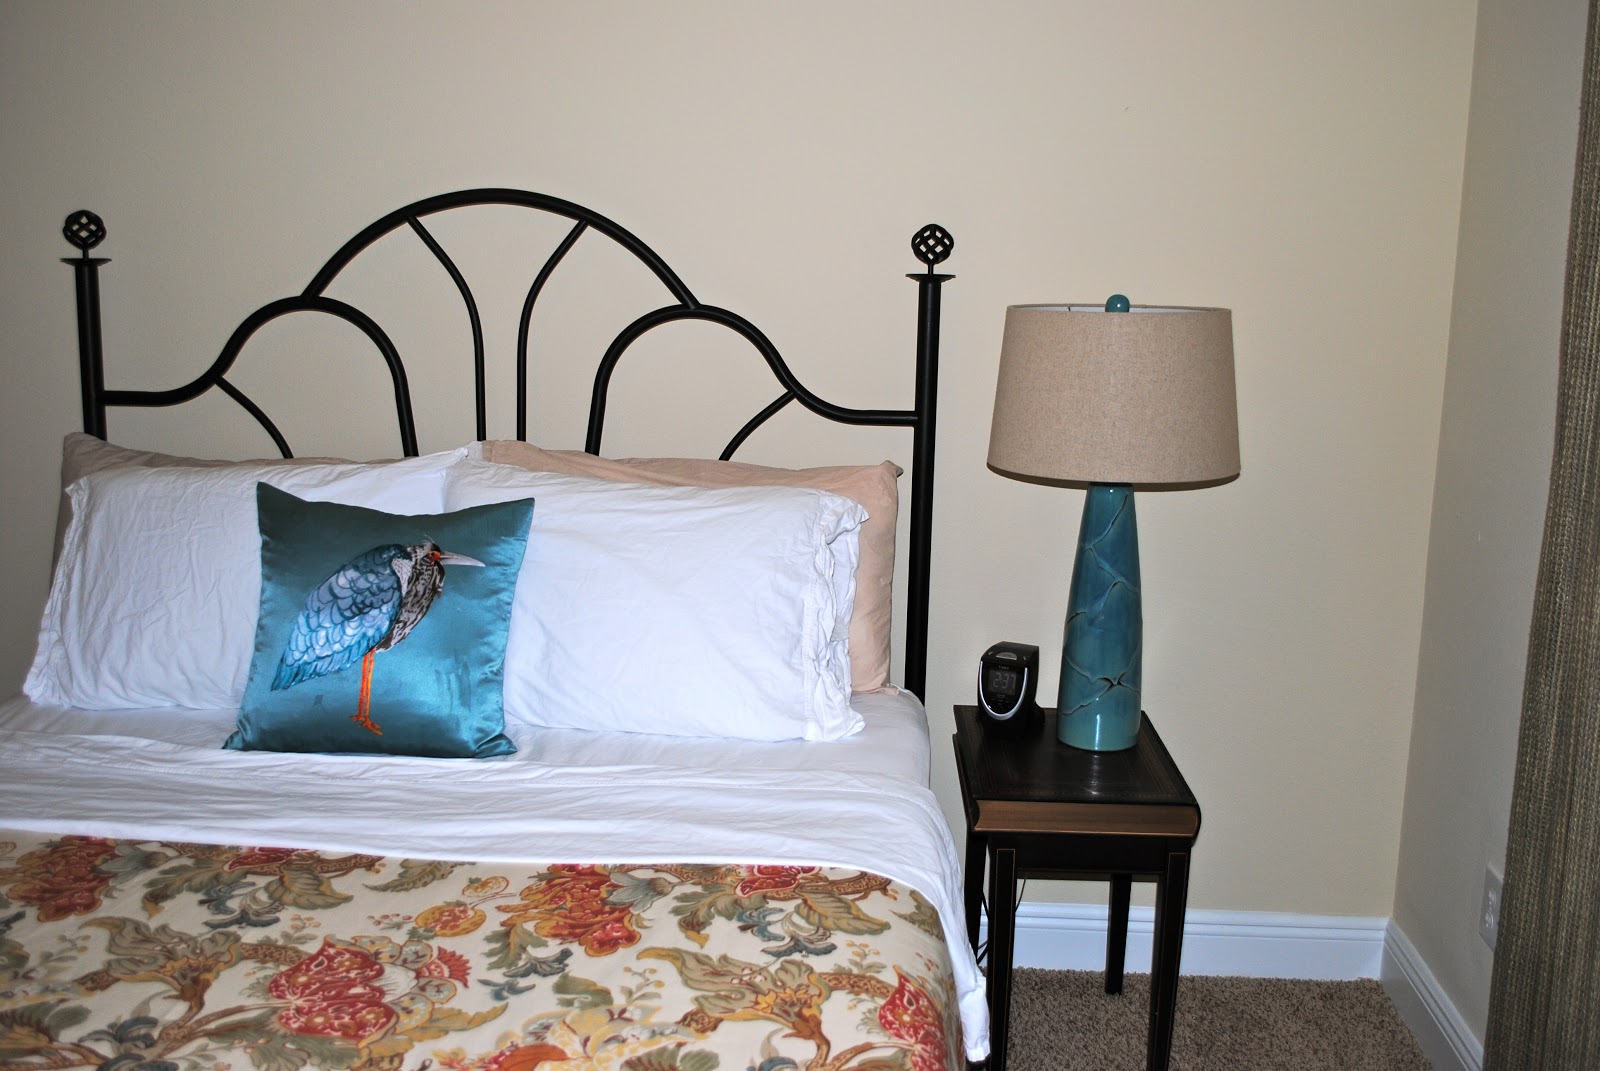
The table's new home (next to the matching bed!)

Almost home and looking totally different!

WOW!!! What a difference a coat of spray paint makes on this metal and glass table!


The full room shot with the table LOVING its new home!

And of course, the DIY Entertainment Center lives here too! 
What a great accent with the golden brass pulls.

So now that the table is golden, it has me wondering what in the world to do with the bed? I originally wanted to do it gold but with the table I think it would be too much. Surprisingly, the hubs is not a fan of the gold so that is two strikes against it...

What do you think? I am 100% changing out the twisty things to something a bit more vintage looking, maybe even something gold. But should I leave it black? White? A rubbed bronze? A muted turquoise? What do you think?

Source: Design Kastle

Source: Brunch @ Saks

Source: http://absolutelybeautifulthings.blogspot.com

Thursday, January 17, 2013

Featured Pegboard Pantry project!

Thanks much to Taryn at Design, Dining + Diapers for featuring my Pegboard Pantry project from the Dog Days of Winter are Over Organize-It Link party!

Taryn is super talented and I am loving all of her DIY projects.... but my heart skipped a beat when I saw this one. Check out her DIY Rustic Growth Chart.


This just got added to my 2013 list! So go check out Taryn's blog and prepare to do the same!

Wednesday, January 16, 2013

Form over Fashion Chairs

While browsing thru my mecca (aka. Home Goods) I saw this set of not so pretty chairs for $79 each! They are almost identical in shape and style to the West Elm slipper chairs which I adore but at oh a third of the price! I happened to be with my mom and aunt and they swooned over them as well! My mom offered to be them for me as a birthday present! You know your old when this is the best birthday gift you could imagine!

Source: West Elm

Here are my chairs. No joke - so close to the WE ones 
(aside from this wild jungle floral fabric!)


The chairs were bought with the intention of reupholstering them or sewing them slipcovers much like these that WE actually sells for $69 a piece!


Well, imagine my surprise when I happened to find two sets of these in a solid charcoal and off white marked down to $9.99 less than a few short weeks after buying the chairs. I like to think of it as fate :)

These chairs and slipcovers have been such a great investment! They have honestly lived in almost every room of our house at one time or another.... 

Occasional seating in the family room...

In there almost forever home, in the great room...

switched out to the dining table in the great room to help with crafting..

And now, they are moving in to the dining room at the new house (for awhile anyways!) But since these chairs are so versatile I am having a hard time deciding exactly how I want to use them. I am leaning towards using them in front of the windows at the heads of the table as seen below. But I feel like they are blending into the tabletop too much.


I popped on the other set that is an off white to see if these looked any better... the contrast with the table works but now they blend into the walls! I even tried to shorten the covers to see if that might help. But still not sold.


It occurred to me that whats missing in this room is a pop of color! So I ran and grabbed my much loved Dwell Citron euro pillows from our bed and bam! While I won't be using this fabric again, I knew right away that this is the answer. As I was writing this post, the idea also crossed my mind to add a seat cushion on back cushion to my chairs much like the WE one. Hey, if I'm sewing might as well go all out right? 


I have also made the executive decision to put together a board for this room before I go any further to help me stay focused and end up with a room I really love!

Tuesday, January 15, 2013

Dining Room Baby Steps

On the top of my 2013 list is our dining room. With the new house, we moved from a great room to a separate living and dining room. This was crazy exciting for me but knowing I have a blank slate is so exciting that I find myself even dreaming about the perfect room! Did I really just admit that? Our dining room is really large with two tall windows, a large opening to the foyer, and a small opening with access to the kitchen and family room via a butlers pantry (LOVE!!!) And did I mention those beautiful wood floors? Yes, I am in LOVE with our house!


It just so happens that my in laws are down sizing and the timing coincided perfectly to our move! My wonderful MIL offered up her set of 6 beautiful French style arm chairs. I am not quite sure where they came from but I have seen similar ones on Wayfair for way more than I would imagine spending on a chair!

Source: Wayfair


I was super excited to try them around my rectangular dining table with 2 extensions. It would have been perfect to have that size table in our dining room and oh yeah it wouldnt cost us anything! Plus that table is in desperate need of being refinished so that would have worked too. But because all of the chairs have arms and my table has a long apron and short overr hang, they just don't work together. 

Please excuse the chaos of this room!!! Its been the catch all for everything that has no home yet! 
Also notice my sad lamp shades that are on their way to being totally naked!

The chairs did work with the round PB table (that also needed a new paint job) that was currently in the breakfast nook but a table that would only accommodate 4 in the dining room was not ideal. Another table marked off the list....


I started searching for another table right after we moved in and was quickly reminded just now expensive tables can be! One of the really cool things about our new locale is that there are thrift stores EVERYWHERE! I even checked those out but needing a taller table table to accommodate the arm chairs made any promising option I found not work. I had just resigned myself to using the round table until I found 'the table' when my mom suggested World Market. 

I took a quick look at their tables online and the first one that jumped out at me was the Verona table. The trestle style of the Verona tables are beautiful and I headed into the store to check it out in person and take some measurements to see if the chairs would work.

Source: World Market

Turns out the color was off and the table was too short for the chairs... But I was able to scout out some of the other tables! The Brooklyn table caught my eye right away because it has a metal looking top and the base is a weathered pine which is what the chairs are and the height was just right. But with a $649 price tag, I mentally crossed it off the list.

Source: World Market

Fast forward a few days.... I was just about to have the hubs drag the round table into the garage to start the refinishing process when....

I got this wonderful email from World Market about their annual furniture sale and some crazy discounts of their best sellers. What are the chances that the table I wanted would be included? What do you know! The Brooklyn table marked down to $299!!! Let's just say I was on the phone at 10:01am right after the email crossed my inbox. And thanks to the hubs, Brooklyn moved in with us on Saturday! And let me say that is one heavy table!


Now comes the fun part of positioning it in the room, deciding on the chairs, maybe DIYing a sideboard, and getting some more stuff on the walls! But we have a table and chairs now!