Showing posts with label Baby. Show all posts

Monday, August 27, 2012

DIY Toy Storage

As Little Fiona is growing and becoming more active, I have realized that I needed some more storage space for her toys, books, and dolls in her room. I have always loved the idea of an easily accessible toy chest or basket and knew that this would be just perfect in her room.

But looking around for something to accommodate this had me quickly realize that again my champagne taste would hard to find on a beer budget! So I scoured the house... Nothing to report unless I would be stealing a basket from another location where it was actually needed. So I ventured into dangerous territory, the garage. And as luck would have it, I found just what I had been looking for.

Open storage, compact, and not currently in use! But this would need some work before it came back into the house (much less into my little girls room!)

What they look like new!


Here she is in all her glory before... with a little bit of sanding!

And after a coat of spray on primer.

S&L Hydrangea paint

After two coats of S&L Hydrangea paint.

Unfortunately, the paint was a sample and it was a stretch to coat the outside after using it in several other places in Fia's room. This left me with a pretty storage box on the outside and an old, scratched inside with no lid. So what now?


Looking at my half finished project it hit me. A liner would be the perfect fix! So I jumped online and found lots of options but at  + $12 for nearly every one (plus at least a few days ship time) I knew that wasn't going to work for me. So I checked around the house... I had resigned myself to sewing one if I could find some extra white fabric. As I was checking our linen closet, something small and white fell from one of the shelves. Duh! Why would I sew something when I had just what I needed ready and waiting to be used. A pillow case!!!

Armed with a clean, regular sized white jersey pillow case I set off with fingers crossed. And what do you know? A perfect fit! I turned it inside out and folded the pillow case over the top of the storage cube right where the seam is.

I stuffed a pillow filler into the bottom of the cube (before adding the pillow case)
 so the toys were up higher and more visible!
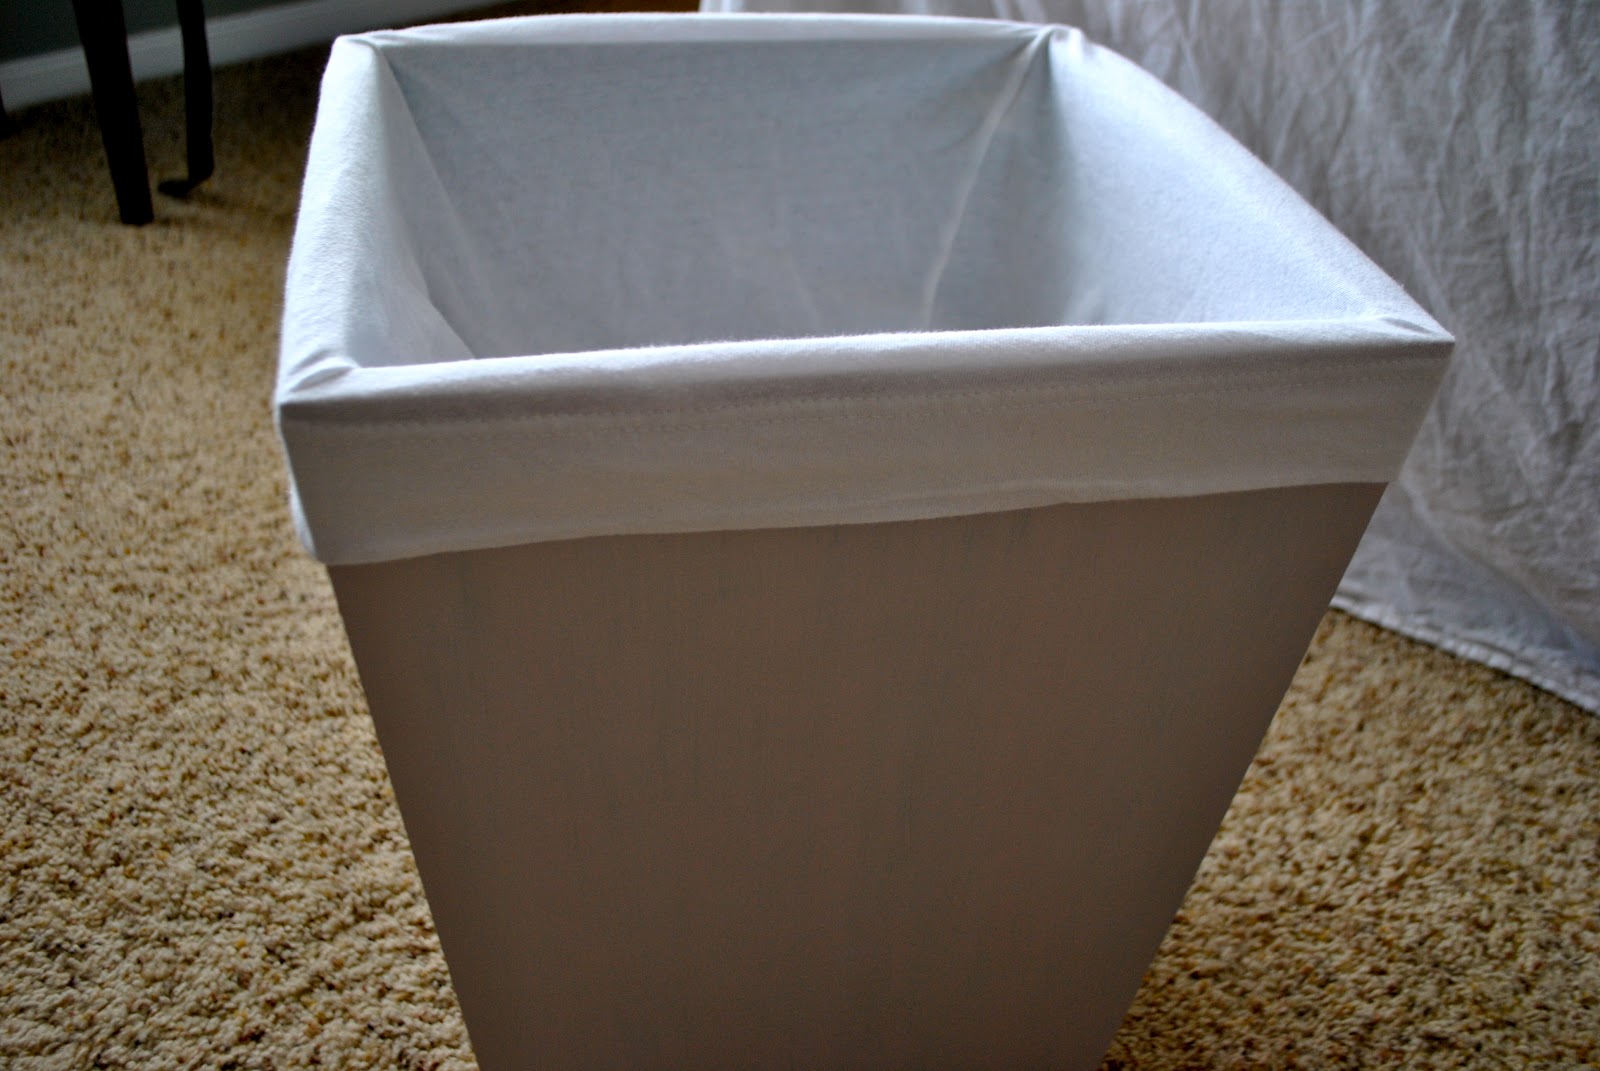
All finished and ready to be filled!

I love how this turned out and how easy it is to clean up her toys now too! Check it out all filled up and in her room!


I know that its impossible to tell from this shot - but the little lady is a mess today thanks to her teeth... note the drool and teething toy... but she loves her new toy storage!


Wednesday, July 11, 2012

A Wonderful Baby Gift Idea

I recently received the sweetest thank you card from one of our dear neighbors who is having twins. And suddenly it occurred to me what a great idea it would be to give personalized note cards as a shower gift! I am typically a fan of buying something from the registry or a gift card since I feel like that's what the mom specifically needs for her baby. But I always have this lingering feeling of that being so impersonal!

So I love the idea of adding in a small pack of personalized note cards to the other gift that is less personal! Here is her thank you card (with the names blurred of course!) and some other adorable ones that I love also!


Friday, July 6, 2012

Animal Cracker Baby Mobile

As I hinted to a few weeks ago, I have been working on a mobile for Fiona's crib. Since we had custom made crib bedding I was having an impossible time finding anything that I liked, that wasn't obnoxious, and in colors that worked with the room. So what's a girl to do? Of course... do it yourself!

There are tons of adorable DIY mobiles out there but most of them are ceiling mobiles and I wanted something for the crib that played music. Obviously, the frame of the mobile was not something that I would make but the rest sounded like just the right thing!

So when I saw this clearance mobile a few weeks ago at Babies R Us, I grabbed it and ran to the check out! For $16 this would make the perfect 'frame' for the mobile AND Little Man is obsessed with the Cars movie so I figured that he would love to play with the little plush McQueen and friends! A real win-win!


First on the list was to remove all of the cars and the blue coverings. I just cut the ribbons from the cars and the blue covering velcroed right off. Super easy! I was left with a solid white mobile frame in less than 2 minutes!


But what to do with it???? Of course I turned to the internet to get some inspiration... and instantly loved the balloons from Restoration Hardware and the DIY


So I checked the house for any paper that might have similar colors to work in her room and no such luck. I was really intent on getting something up that day (we were mid 12 week growth spurt and I was dying to try anything that might help soothe her!) and desperate! Then it occurred to me that I could use a gift bag. So I found a stripe and polka dot paper bag and got started cutting....


But the patterns were just too much since we have so much going on in her room already! I had already cut out the pieces for the 4 balloons (4 pieces per balloon for 16 total) when I made this decision but decided to just go ahead and put it up with the balloons until I found the perfect mobile idea.

So up it went and she loved it!!! So that night I headed over to Etsy and I knew that I would find something wonderful :) And sure enough I did! I searched and found the perfect thing! A set of 4 felt animal cracker cookies! Instant love! Even better? I messaged the seller and she was willing to change the color of the elephant to go even better with our colors!

Animal Cracker Cookies


I was so happy when I received the cookies (from the UK!!) and could not wait to get them up! So last night, I gathered the needed materials and got to work.

4 felt cookies
4 pieces of lilac ribbon to hang the cookies from the mobile
1 package Satin Blanket Binding (you could use any fabric - this happens to match my crib skirt/colors)
Needle, thread, scissors
Wooden Dowel (or pencil) for turning the binding right side out

1. Knot the one side of the 4 pieces of ribbon. This will help it to stay in the cookies.
2. Open a small section on the top middle of each of the cookies.
3. Thread 1 of the ribbons into 1 of the cookies so that the knot is now inside the cookie
4. Sew the cookie closed making sure to stitch thru the knotted ribbon
5. Repeat for the 3 remaining cookies and ribbons.
6. I chose to add a bow at the top of my ribbons where they attach to the mobile. If you choose to do this, you will need 4 smaller pieces of ribbon too. I tied 4 little bows and then stitched them on to the knotted ribbons. Looking back, it would have been easier to tie the bows and then knot the ribbon around the bows.
7. Feed the cookie ribbons thru the mobile.
8. Next is creating the mobile arm covering, you need twice the length of your mobile arm as a minimum. The more fabric the more gathered (or sheared) it will look. Fold your fabric/binding in half and using either a sewing machine or hand stitch, sew the entire length of it.


9. Once completly sewn and secured, you need to turn the fabric right side out. I have a wooden dowel I use for this. Basically place the fabric over the dowel and start pulling until complete. You should have a large tube of fabric.


10. Place the covering over the arm and you are ready to admire your handiwork! I had a great helper :)


And now for the after shots! Loving this and so is Fia!