Wednesday, March 21, 2012

I Love... A Super Easy Pillow

I am a sucker for an easy DIY project, especially with all of the more involved things I have been working on lately (or maybe they seem more complex with a nasty case of 9 month pregnancy brain!)

So I began a search for he perfect accent pillow to sit with my newly completed chevron pillow. I wanted something simple to contrast the heavy pattern and likely with a white background. I decided to check out Etsy for some inspiration and searched for 'lilac pillow'. I cam across lots of great ideas but the ones that really spoke to me where the plain white pillows with the wording or monogram across them. And since we don't have a name yet the monogram was not gonna work! So a word pillow it is!

This might have been one of the simplest projects I have ever done! Basically all you need is a plain pillow cover and some felt. I happened to not have any felt at the house in white, so Little Man and I took a trip to Hobby Lobby and what do you know they have craft felt that already has paper backed adhesive on one side! Super easy for applying to my pillow but also much easier to trace my wording on to as well. I also knew that I would not be able to find the right color felt to match the purple or aqua used in the room so I went with white felt and planned to paint it using the craft paint I also used for the Chevron pillow.

We got home and it was naptime which meant that I got to work right away. I used power point to print out the word 'love' in Edwardian Script in bold in a 500 font. I that its a cursive, girly looking font! I then  cut out the word from my paper and traced it on to the back of my felt making sure that the wording would be right side up! Then came the fun task of cutting out the felt word. For the most part it was pretty easy except for the holes needed for the 'o' and 'e'. I ended up cutting thru both of the letters to make it easier and the felt seems to hide the cut well. Then I used the Martha Stewart Multi Surface Craft paint to paint 'love' in the lilac shade. I opted for the lilac since the aqua is so light that I thought it might not stand out enough. I used a foam brush and just dabbed the paint on. The felt got a little fuzzy when doing this but once it dried it looked great!

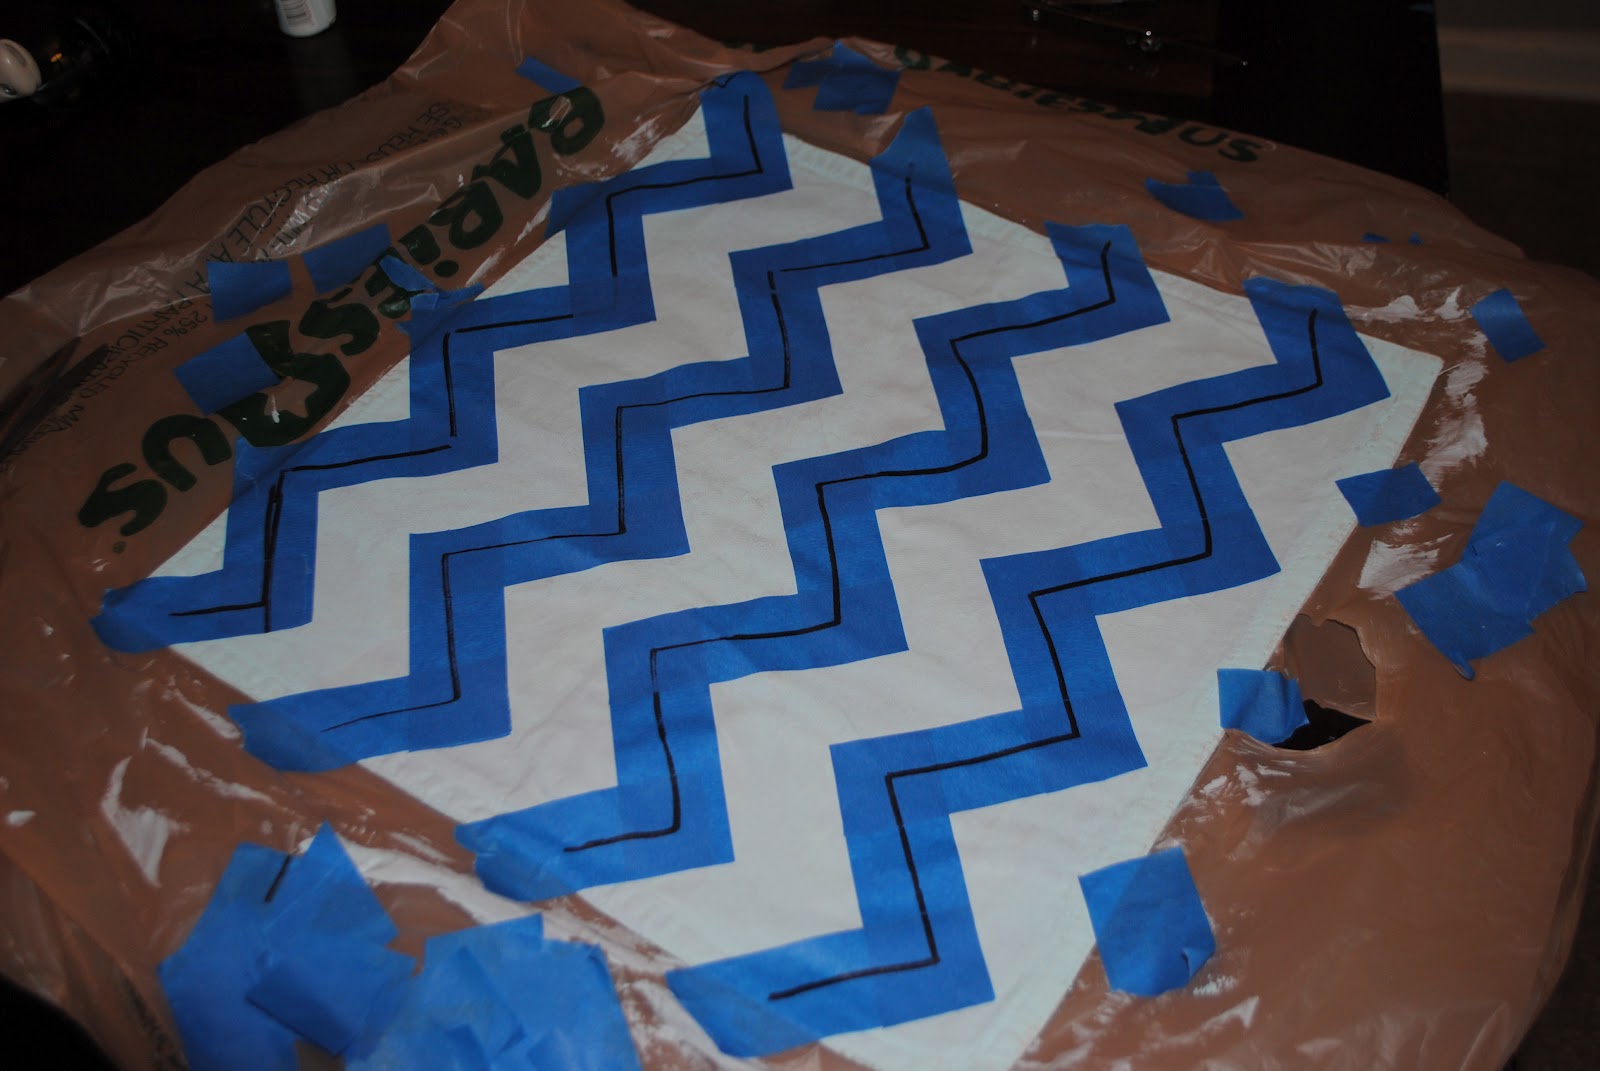
I was looking to add this to a small solid white pillow and I looked around to buy one but I could not see spending $20 for a basic white pillow. Target to the rescue! I happened upon a 4 pack of wrinkle and stain resistant 20x20 white napkins for $4.99! These are perfect for making big pillow with a trim or in my case folding one napkins over to end up with a mini pillow. My sewing machine has been broken for ages... so I thought about using No Sew tape but in the end opted to just hand sew it. (I must say that this was exacerbated by the fact that I was having as close to real contractions as I have had this pregnancy about 7 minutes apart and the sewing proved to be a great distraction as I waited to see if this was the real thing or not from 8-11pm on Tuesday night!) The pillow was finished that night and I just had to wait to morning to add the love...

Wednesday morning came (and no baby!) so I excitedly added the wording and placed it on the rocker in the nursery to check it out. I think that its the perfect complement to the chevron and I LOVE it!!! Plus it was so easy! I have some leftover felt and I am now trying to decide what else needs a felt applique!


Tuesday, March 20, 2012

Paint on a Pillow???

I am beyond thrilled to be off of bed rest! It has been nice to try and take some time to relax but man is it hard. Not being able to do anything! With a toddler and a very hairy 100lb dog, daily vacuuming is a must and it has been brutal seeing the fur tumbleweeds and toddler trash on the floor and not being able to do anything about it...

I have been spending lots of time in Baby Sissy's room trying to get organized, hospital bags packed, etc. The more time that I spent in there,the more I love the serene color scheme. It did jump out to me that I was missing a couple of accessories so I took it on myself to complete my first post bed rest project for her nursery!

Since our bedding is custom (thanks to Grandma Gigi!) I really wanted to add some pillows that pulled together the lilac and pale aqua colors. Grandma is working on 2 floor pillows using the bumper and window treatment fabric and I started work on another one.

I happened to have an old white cotton throw pillow cover from West Elm that I was no longer using. It was just screaming to be recycled! I know that it's somewhat over done but I love all of the chevron pillows on the blogs and Pinterest! And what better way to incorporate the two colors than by DIYing one!

I started off by washing, drying, and ironing my pillow cover. Then I put on a coat of aqua paint across the entire front of the pillow. I chose to use Martha Stewart Multi Surface Craft paint that was being clearanced at my Michael's store. I was surprised at how well it covered and I am pretty sure you could even paint over pillow covers with a design on them. I let the paint dry for about 4 hours and then set off on the fun task of taping off the chevron pattern on the pillow. I probably went about it the slow way but in the end I got it finished!

I taped a criss cross pattern across the pillow. Then to make sure I kept and cut the right pieces, I used a Sharpie to draw on the tape that would form my chevron. Then, I got out my trusty scissors and started trimming off the excess tape. Once the tape was all cut and everything looked good, I went over the tape to make sure it was tight on the pillow. Then it was time to paint the lilac. I used a foam craft brush and tried to follow the tape lines so as to not have the paint bleed or get under the tape.


I waited just a few minutes and then carefully pulled off the tape from the pillow. I was pleasantly surprised how good it looked! The lines were pretty crisp and the paint did not bleed or run at all! I left the pillow cover to dry overnight and then I excitedly checked it out the next morning and quickly stuffed the filler into it and ran to try it out in the room...


And.... I must say that I love it!!! It really helps to pull everything together and give it an unexpected pop too! I did notice that the chair where the chevron pillow will reside could use another small lumbar size pillow but that will be covered tomorrow!

Friday, March 16, 2012

Custom Campaign Style Entertainment Center

We recently made some big changes in our master bedroom (that's its own post!) and one the biggest changes was deciding to relocate the bed in front of the window. Our master is very large but its shape is a long rectangle with the main focus windows being on the far short wall. It was very challenging to ever feel like the room was balanced when you walked right into the end of the bed!

So we made the move.... and we love it! But of course - moving the bed meant that we had to move the rest of the furniture too! So we were left with a wall mounted flat screen TV and no place to store the needed components (yes - I know there should be no TV in the bedroom but the husband and now Little Man love it!) I did have enough foresight when we originally installed it to keep it on the wall opposite the door to the master so at least you don't have it as an eye sore when you walk into the room! But I digress - the issue at hand was needing a small and narrow piece to basically just hold our TiVo, DVD player, and other TV neccessities. I set out on a mission to just buy something that could maybe be painted or would work as is..... no luck on that front without shelling out some cash or taking on a big DIY project.

In the midst of this - I was also working on my closet cleanout project. I had a cheap pair of Target MDF wooden looking show racks in my closet that were on the way out (none of my 3+ inch heels would fit in the shelves!) when it occurred to me that this would be the perfect piece to sit below our TV! It would give me the needed 3 shelves plus it was the perfect width and depth with an open back to let me plug everything into the wall! PERFECT!

The two sets of shelves originally just connected with wooden dowels but I wanted to give them a quick coat of wood glue too to make sure that everything stayed in one piece.


Isn't this just perfect for storing Entertainment components? I could also see this working great in a playroom for housing games and toys!

I was not a fan of the maple wood colored finish - so I called on my trusty friend... spray paint to give this a major face lift! I chose a beautiful teal color called Rustoleum Night Tide in Gloss that happened to be on clearance at my local Home Depot! After three light coats, I was so excited with how it was turning out! Such a bold color!

I am currently obsessed with Campaign style anything and I thought that this would be the perfect piece to try a little DIY. I bought 3 sets of the silver corner brackets from Home Depot and attached these to the front of the shelves. This also made me feel better about holding the pair of shelves together!

So for less than $10 - I ended up with a perfect little storage unit for our master that perfectly meets our needs. I am a little sad to say that I had another set of these that I threw away just a few months ago because I think that it would have looked amazing to have 2 of these side by side in our room.... you live and you learn! So here is the finished product. Please ignore the dangling chords that need to be re-fed into the wall.

Thursday, March 15, 2012

The Number 2!

I must admit I am sucker for getting the perfect photo to capture a birthday, wedding, new baby, etc. So on the list for Little Man's birthday was to find or create the perfect shirt to photograph him in for his birthday party.

As always, my first stop was Etsy. I found a ton of really cute Cookie Monster birthday shirts but for nearly $20 and a close to 2 week wait time nothing seemed quite right. My mom happened upon a really cute aqua/ teal colored Cookie tee at Target that we snatched up but I still really wanted something more personalized. So I decided to make something myself!

The hardest part might have been finding a plain tshirt to use! I sent the husband and Little Man to Target with hopes to find something usable and the only options they had were a white or gray one with a pocket on the front. This would have to work since I could not run around and look for more options! So as I sat on bed rest, I ripped the pocket from the gray shirt. I was pretty nervous that it might show on the shirt but after a quick wash and dry all was good and I was ready to get started.

I decided to just do a large number 2 on the front of his shirt but was still undecided on the fabric or style I wanted. I opened up my scrap bag of fabrics to find 2 options... a black fabric with blue, yellow, and green polka dots and some of the jersey sheet material left from the DIY Roman Shade improv in a heathered navy blue. I had seen a really cute Letter shirt (linked below) that made me want to try the solid fabric first.

Made Sprinkle Shirts

Well - lets just say that when taking on this type of project - a jersey sheet material is too flimsy to make this work. So Try #1 was a fail and I will spare the pics that prove it!

So onto option 2...

Materials:
Solid Tshirt with no pocket
Fabric for Letter or Number applique
No Sew Tape & Iron
Constrasting Thread & Needle

1. Wash and dry shirt and fabric
2. Create a template for letter or number. I used my computer and about a 200 font to get the right size
3. Cut out the template
4. Trace the template onto your fabric. Make sure the pretty side of the fabric will have the letter/number facing the correct way
5. Cut out the letter/number that you just traced
6. Position the letter/number on your shirt and use the No Sew Tape to apply it (technically you can stop here - but I wanted to add a little something more!)
7. Using the contrasting thread, sew the letter onto the shirt using wide and thick (visible) stitches.

This shirt turned out so cute and the colors tied in perfectly with our Cookie Monster theme! And Little Man was all smiles wearing his special number 2 shirt!

More Cookies Please!!!!

I probably should have outlined this project first but really cupcakes are always so much more fun than anything else so I got a little excited!

After I decided on the Cookie Monster theme (thanks to the cupcakes - but prior to actually making them!) I set off to try and find some cute invites. We opted to do a smaller family only party this year since it was so close to my due date (good thing since I ended up on bed rest!) so we only needed 8 invites. I checked all of the local stores and nothing really jumped out at me. The closest I found was a Sesame Street one but I really wanted just Cookie. So I looked on the internet - Etsy had some adorable ones but since we needed so few I hated to spend close to $20 on them. And suddenly I stumbled upon an adorable idea.... handmade Cookie Monster invites! This was a perfect idea since we needed so few of them and would be a fun project to include Little Man in on too!

Terrycloth Cookie Monster Invites

I opted to vary ours just a bit to use what we already had in the house so I used Blue card stock paper instead of the blue terry cloth fabric which made the project soooooo easy!

Materials:
Blue, Brown, Black, and White Card Stock Paper
Hot Glue Gun
Dark Brown Crayon
Black Fine Sharpie Marker
Various sized circles to trace ( I used tupperware, spice containers, and a marker top)

I built a sample template and then used it to the trace the rest.

1. Trace a large sized circle onto your Blue card stock and cut it out. Once cut, fold it in half.
f you are mailing these you would want to check that the circle will easily fit into an envelope when folded in half.

2. Trace two small circles onto your white card stock for the eyes and cut them out.

3. Trace a small circle onto each of your cut outs using the black Sharpie. Make sure to wipe whatever it is you are using to trace the pupil with before doing the second eye or you might get black smeared on the white eye.

4. Trace a slightly smaller circle than used in Step 1 onto the Black card stock for Cookie's mouth and cut it out. Once cut, fold it in half.

5. You can now mock assemble Cookie and make sure that the proportions look right. If they do - start an assembly line and make 1 blue, 1 black, 2 white for each Cookie Invite that you need.

6. I used a hot glue gun to assemble the invites but would imagine you could use any adhesive of your choice!

7. I then took to the computer and used Power Point to make the actual cookies with all of the party details. Basically - it is 2 circles with your choice of wording. I printed out a sample - made sure it was the correct size and then printed on my brown card stock. Cut these 'cookies' out and add some chocolate chips using a brown crayon!

This could easily be used for Elmo - with maybe Goldfish instead of cookie for Dorothy or any of the other characters!

The pic is a little grainy since I needed to blur out some of our info! But it was very well received! Little Man's cousin actually refused to let it go and took Cookie to bed with him!


Tuesday, March 13, 2012

Brought to you by the letter J and the Number 2!

As I mentioned - little man's second birthday was a huge success and luckily for me I had most of it well planned in advance since I was still on light bedrest for it!

Scouring the internet and Pinterest I found so many easy and great ideas to make this a really cute party with a Cookie Monster theme since he is my son's favorite Sesame Street character ever since he got Farmer Cookie Monster for his 1st Birthday.

The one project that really sold me was the adorable Cookie Monster (and many other SS characters too!) cupcakes that are seriously the cutest things I have ever seen! Surprisingly - they are not to difficult to make. Thanks to the help of my mom for coming over and actually baking the cupcakes I was able to sit down and get started on the necessary Cookie parts - like dotting his eyes and mixing the blue frosting!

I used the White Chocolate Candy Melts for the eyes and actually used a tube of black squeeze frosting with a thin tip to make the eyes. Cookie has googly eyes but that is all in how you place them so its just a matter of dotting all of the eyes in a similar location and using a similar amount of frosting! We made 24 cupcakes so I did 50 candy melts and let them dry for about 20 minutes. Next I got started on the blue frosting using a pre made tub of Buttercream frosting. I have read that the gel food color is the best to use but of course being on bedrest I was limited to the old school blue drop type. I did happen to have some black gel color so I used 40 drops of the blue and about 2 drops of the black gel. I would have liked a more rich blue but I still think that they turned out great! Next I used Chips Ahoy cookies and just broke them in half for Cookie's mouth. It was challenging to get some to break right so I also got a nice snack! Once the cupcakes cooled - I did find that it is best to cut a slit in the cupcake for Cookie's mouth prior to frosting. And now comes the fun.... To make the frosting look like fur I used frosting tube with a star tip. I happened to have a really small frosting tube and had to refill after every 2nd cupcake. I basically squeezed little stars all over the top of the cupcake, pushed the cookie into the slit that I cut, and added the eyes. And here is the finished product! Everyone loved them especially Little Man who still talks about them!


Thursday, March 1, 2012

This is my punishment...

Well, I am being punished for pushing a little too hard! Last Friday, I had the joy of making a trip to Labor and Delivery following an appointment to my OB to be checked or interactions. They were coming on pretty strong on Thursday evening (6 an hour until I went to bed and then about 2 an hour once I layed down). Knowing that I did not want to be in the ER over the weekend or in fll fledge labor at 34 weeks, I got into my doc before they close at noon on Fridays. My mom met me up there to watch little man while I to checked... 2 hours later I was sent to L&D following 7 contractions in less than an hour of being monitored.

Thankfully, some fluids and 2 injections of terbutaline stopped my contractions and I was released that evening with a prescription for Procardia and bed rest orders. Bed rest sounds like a wonderful thing but with an almost 2 year old, a birthday party to prepare for, and a house to keep clean.... It's kinda not! I have been so blessed o have the help of my family every sinle day with not oly my son but also the house and party planning! It will be a week tomorrow and so far so good. Only one episode of 6 contractions in an hour and the meds totally stopped them.

Today was little mans second birthday and it was very low key. He got a toddler trampoline which is great for wearing him out when we are inside! He also had his first haircut! He aw a champ and looks so grown up without his shaggy waves! We are having a family party on Saturday featuring lots of DIY Cookie Monster projects!

Fat Tuesday Tastiness

It was another wild weekend at our house! My baby shower was hosted by my amazing sister at my house on Saturday. Two of my best friends made the trek up and spent the weekend with us celebrating too! I am beyond thrilled to report that I got EVERY single thing on my to do list finished by mid day Friday and even managed to squeeze in a pedicure (my first in nearly a year!)

The shower was beyond incredible with lots of personal touches that I will cover in a special post later this week.... But let's just say she way outdid herself!

So I have been quite lazy the last few days since I feel like its been non stop work trying to get the house and nursery mostly finished! And since the husband was off for Presidents Day on Monday we took a morning trip to the zoo with little mans girlfriend and her family. It was a it chillier than we realized so did not stay very long but still had a fun time!

That afternoon I had my 33 week doc appt and I am again measuring about 1.5 weeks ahead so I am getting an ultrasound in 2 weeks to check out her size. That appt is the one I never made it with little man so fingers crossed I get to see her on ultrasound before she makes her grand entrance!

To celebrate Fat Tuesday, we stayed in our pajamas all day and made a homemade king cake. Little man had so much in helping to mix and bake and finally ice and sprinkle it! This is a yearly tradition that we will be continuing! I found a great recipe and while it was time consuming to let the dough rise twice it was super easy to make. I even dumped in some leftover oonut and M&Ms to the filling! Can you say yummy?